Guide: Buying a polytunnel
Polytunnels are such great growing spaces! Many people ask me about how to pick the right one. Read this guide to buying a polytunnel to learn how!
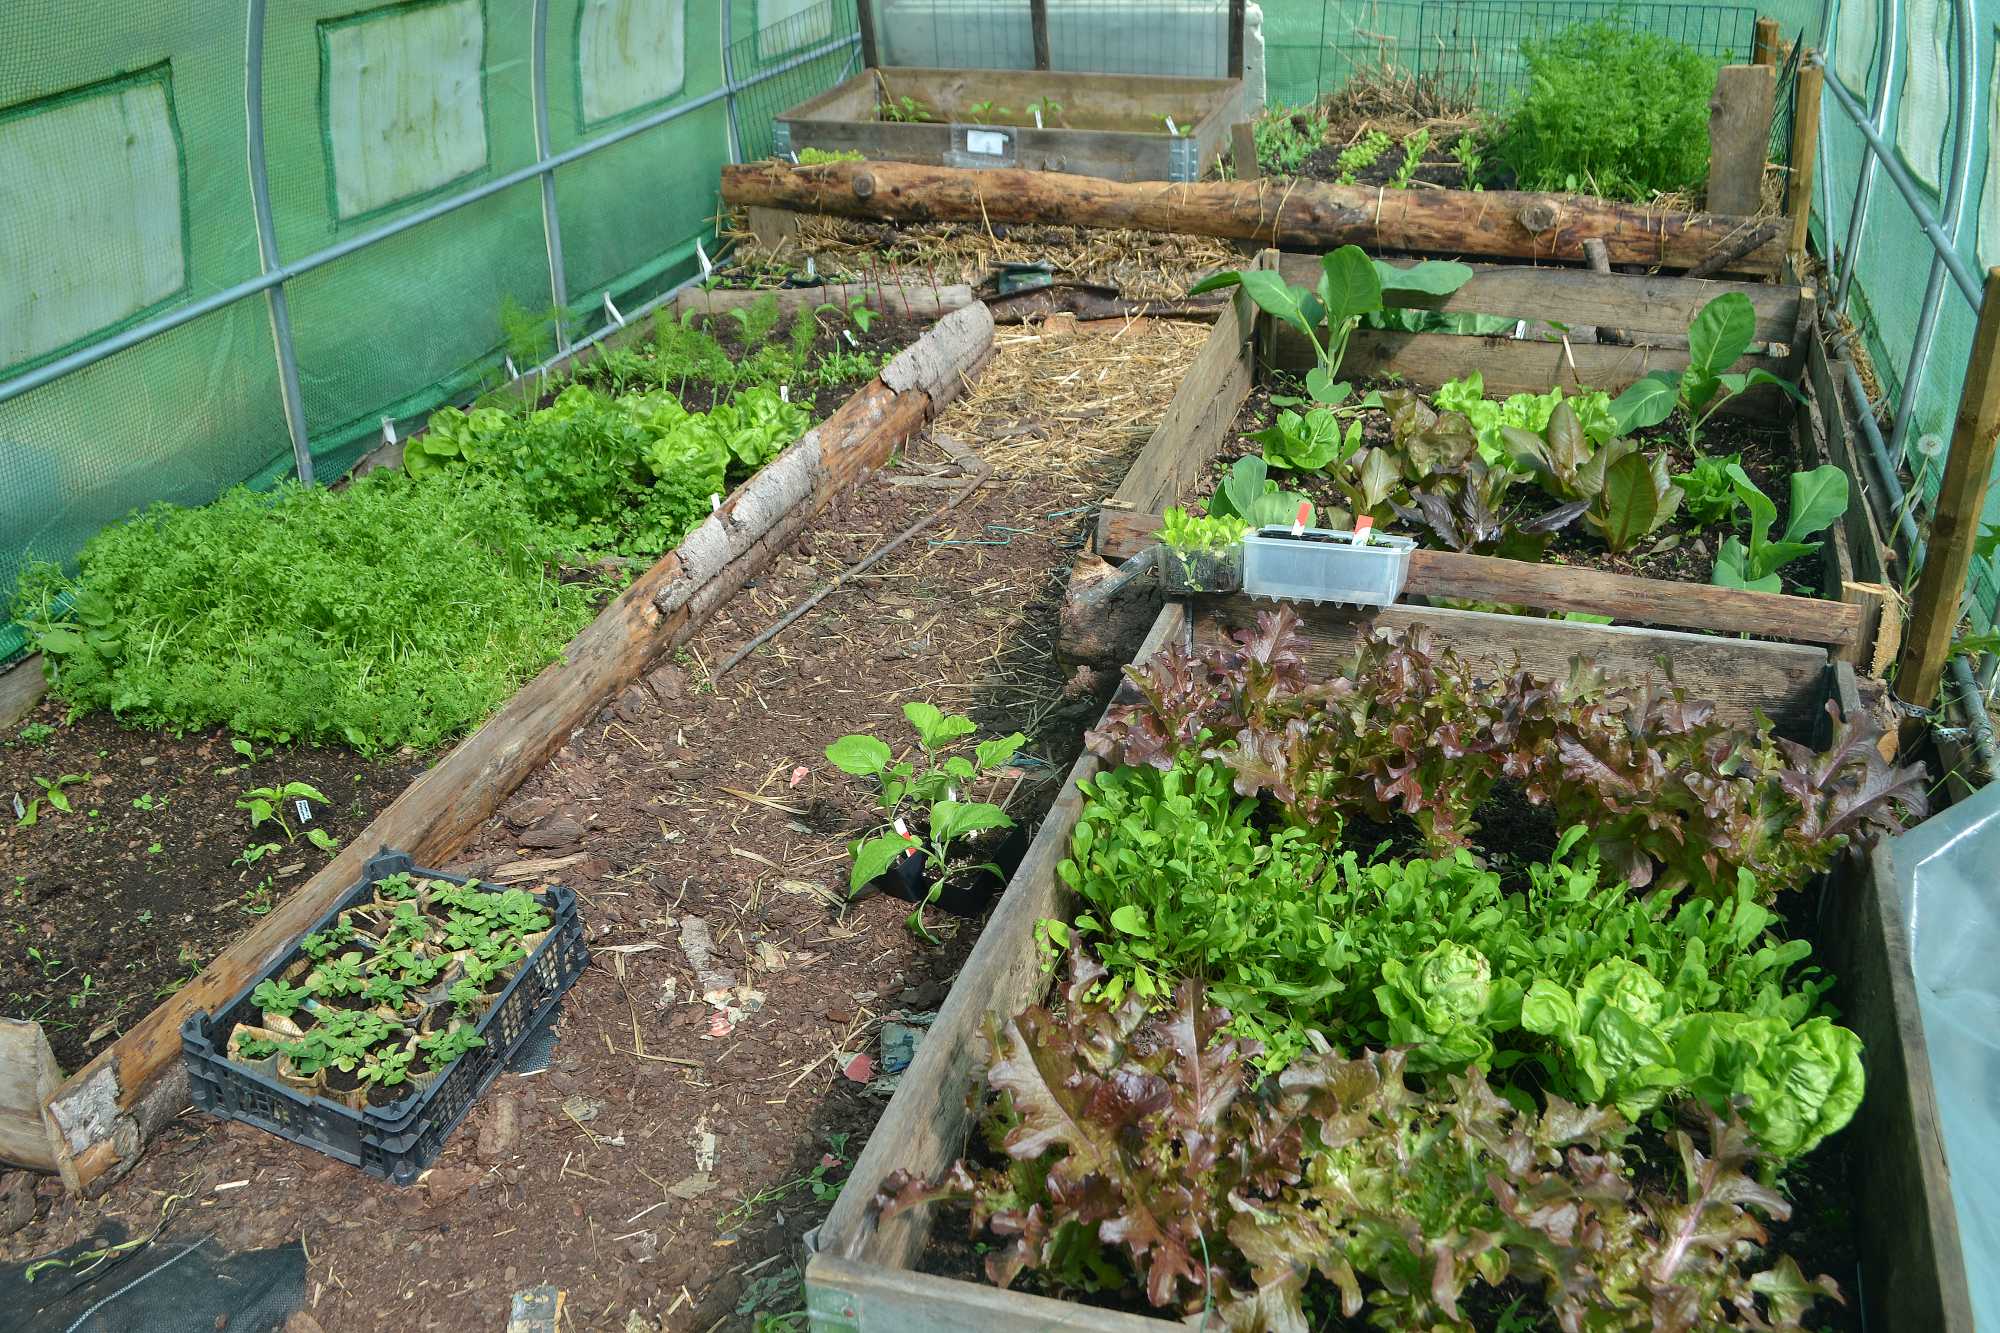
The leafy greens are coming along nicely here in my polytunnel early spring, the polytunnel gives me a head start.
I use my polytunnels all year round. This is my fourth year with my tunnels and I'm so happy to have these great growing spaces in my garden. The air in the polytunnels starts getting warmer in February-March as soon as the sun comes back after the long Scandinavian winter. The climate is already good enough for the vegetables to grow and I can harvest a few of them now. Buying a polytunnel was definitely one of the best things I have done for my garden!
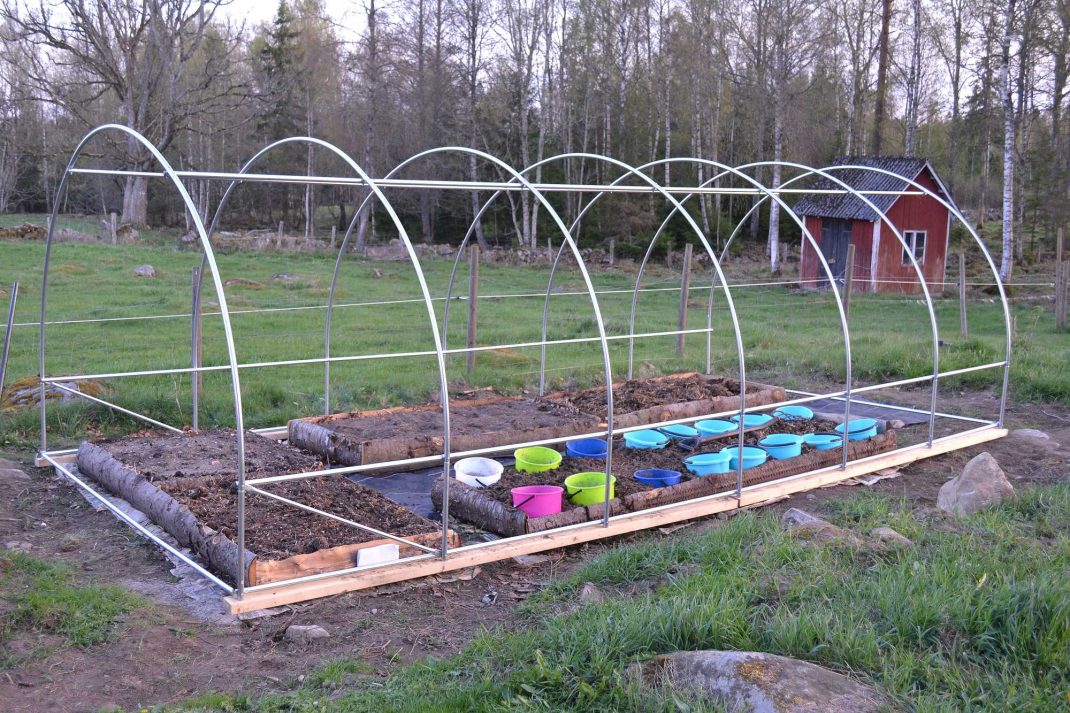
I got my first tunnel in 2014. I had already prepared the beds before I put the structure on top.

The climate got very pleasant as soon as we put the plastic on. I could start growing immediately. I really recommend buying a polytunnel if you want to take your growing to the next level.
Read more: Building a polytunnel
Why you should have one
The reason why I decided to go for a polytunnel instead of a regular glass greenhouse is firstly because I couldn't afford a large greenhouse. I also realized it would be hard for me to assemble it by myself. So, I thought it would be a lot better to start with a simple polytunnel, which is also a lot cheaper per square foot too.
The polytunnels are of course not as nice-looking as a glass grenhouse, but I decided that the function is a lot more important than the look after all. I don't regret my decision at all! Buying a polytunnel is a great way to get started and learn how to grow in these types of structures.
Read more: Self sufficiency: Growing a lot of vegetables
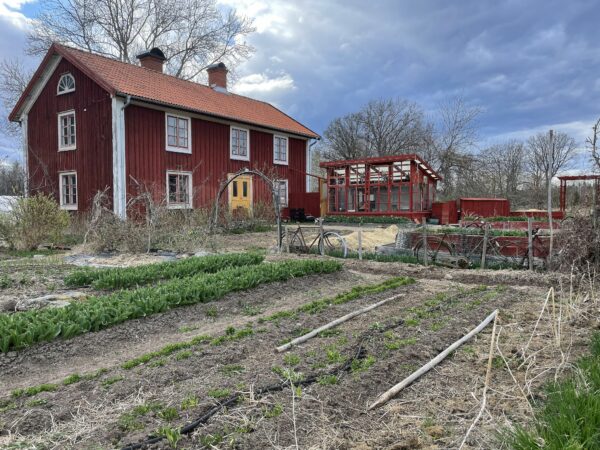
My large (16 ft 5 x 13 ft 1, or 5 x 4,5 meter) polytunnel is from Gjordnära. I just love working in here, all year round.
Choosing a polytunnel
But how do you pick the right polytunnel? There are of course plenty of options out there. More or less expensive ones.
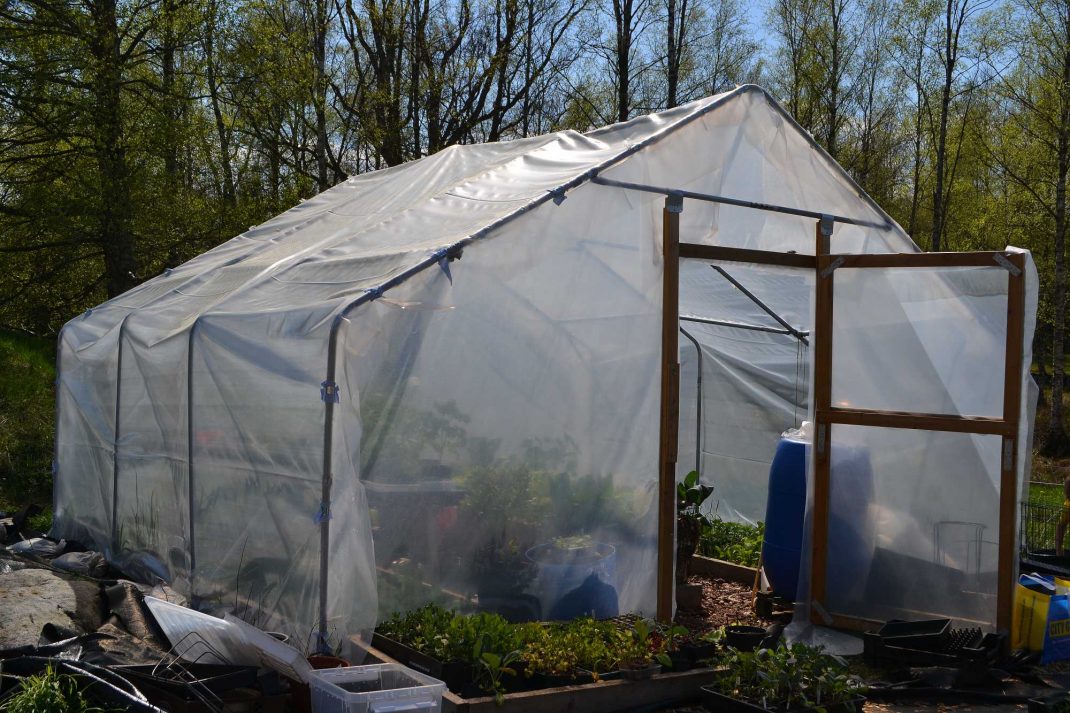
The two polytunnels I have here at home represent both extremes. I have a super cheap polytunnel from Ebay (it cost around 190 dollars or 1800 Swedish crowns with shipping from England, bought in 2014), and a more expensive one from a company here in Sweden (around 1400 dollars or 13 000 Swedish crowns, built in 2015.)
I thought it was a good idea to pick a cheap tunnel to begin with. It was so cheap and easy to assemble, so it's the perfect choice if you are new and want to learn. I learned so much the first two seasons. Everything from placement to anchoring, different ways to construct beds and working with the tunnel during different seasons. This polytunnel was the perfect place for this kind of learning experience. It gave me the opportunity to think about what I wanted and needed before getting a better tunnel.
More about polytunnels: Winter gardening in a polytunnel
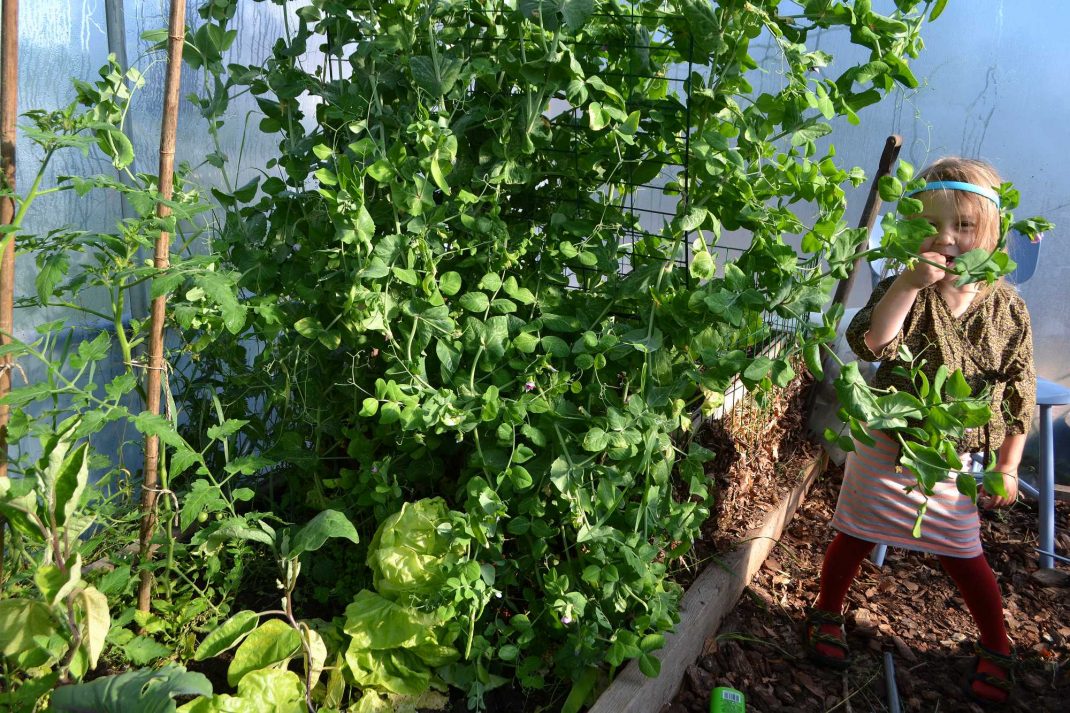
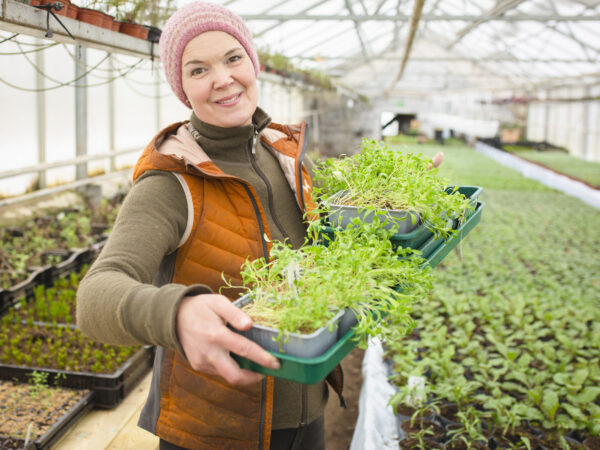
I use my polytunnels to grow plenty of staple vegetables both early and late in the year. An early sowing of sugar snap peas will give me a nice harvest in May or June.
Pros and cons
So, is the expensive polytunnel better? Well first of all, it's larger. There is a lot more air in there that gets warmer and the climate becomes more stable. It's quite roomy too, so I can use the extra space to grow climbing plants. This tunnel has actual doors too. They are a lot sturdier than the regular entrance you close with a zipper. The plastic is completely see-through and hardier than the green fabric on the Ebay tunnel. There is also enough plastic so that I can dig it down which makes the whole construction more stable. It's good to consider all of these factors when buying a polytunnel.
The green plastic on the Ebay tunnels lasted for about a year, since I left it on the hoops all year round. I'm upgrading the small tunnel with new plastic now. It costs about 420 dollars (4000 Swedish crowns.)
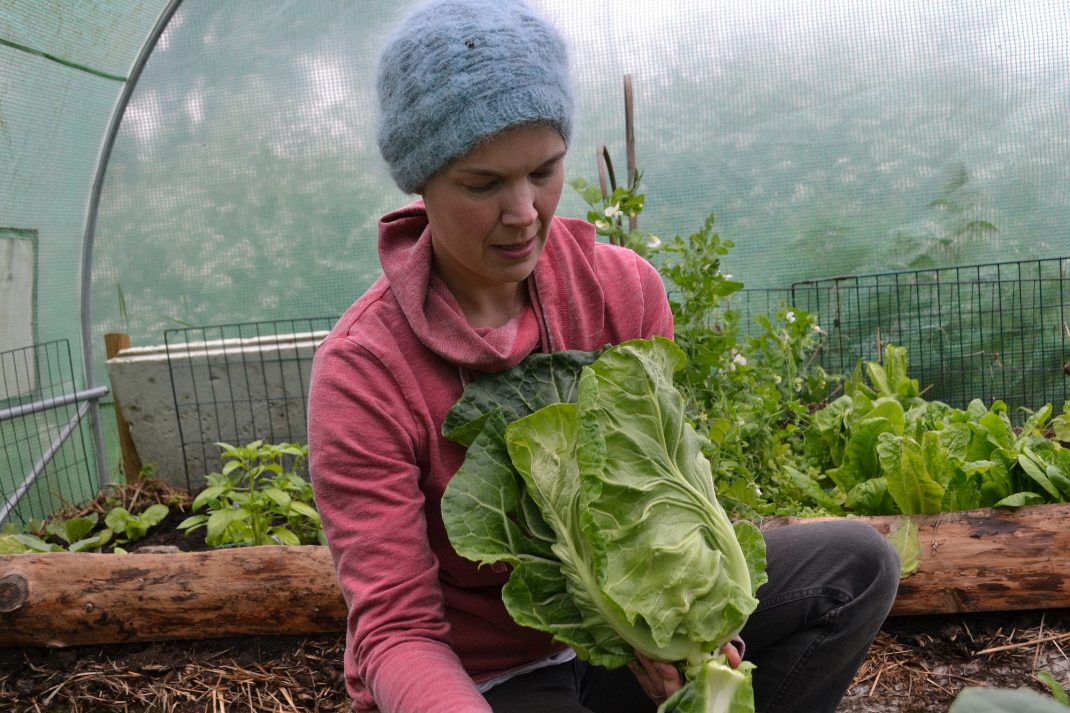
Cabbage doesn't really thrive in the warmest spots in my garden, for example my polytunnel in summer. But early spring is better, I can start harvesting in May.
Start simple
When I get asked about buying a polytunnel and which type to start with, I always try to be a bit ambivalent in my answers. A large and sturdy polytunnel is of course a plus. But I still think there is a huge point in starting with a cheap tunnel and upgrading to better alternatives when the time is right. It's far better to get started with a cheaper option than wait a long time to get enough money for that expensive tunnel before you can get started.
I do however need to say that the price reflects the quality of the cheapest tunnels. I don't really mind that seams and plastic breaks here and there though. That's just what you can expect with cheaper tunnels. My cheap tunnels (I have had two but exchanged one of the "skeletons" for berry bushes) have provided me with amazing growing spaces and a lot of great new insights I can use for my expensive tunnel.
The top picture shows the Ebay tunnel, it was taken in May 2015. I grew a lot of early leafy greens that year, we were actually self-sufficient from mid-April.
Read more about polytunnels here on the blog. I have plenty of articles detailing how you can use your polytunnel for different vegetables all year round.
/Sara Bäckmo
Great to hear your experience and advice too. It will benefit farming communities all over the world who are enthusiast to start farming and to choose polytunnel.
Hi Sara. I live in Ireland and have just ordered a polytunnel: very exciting! I am planning the layout. I really like your beds edged with wood. I see you have mypex on the paths. Does this go under the beds? Should I prepare the beds before the polytunnel arrives? The company putting up the tunnel for me can attach mypex to the frame of the tunnel but that would mean waiting to prepare the beds. My tunnel will be 14x32ft. Thanks for your very interesting articles. Jane
Hi jane,
How exciting with a polytunnel! That is great news! I would use cardborad and newspaper under the bedding and use mypex on the paths. So yes, do it before! Good luck!