Garden DIY: Making a woven compost basket
This large woven compost basket is like a work of art. Do you want to build one too? Read this article to learn how to make your own.
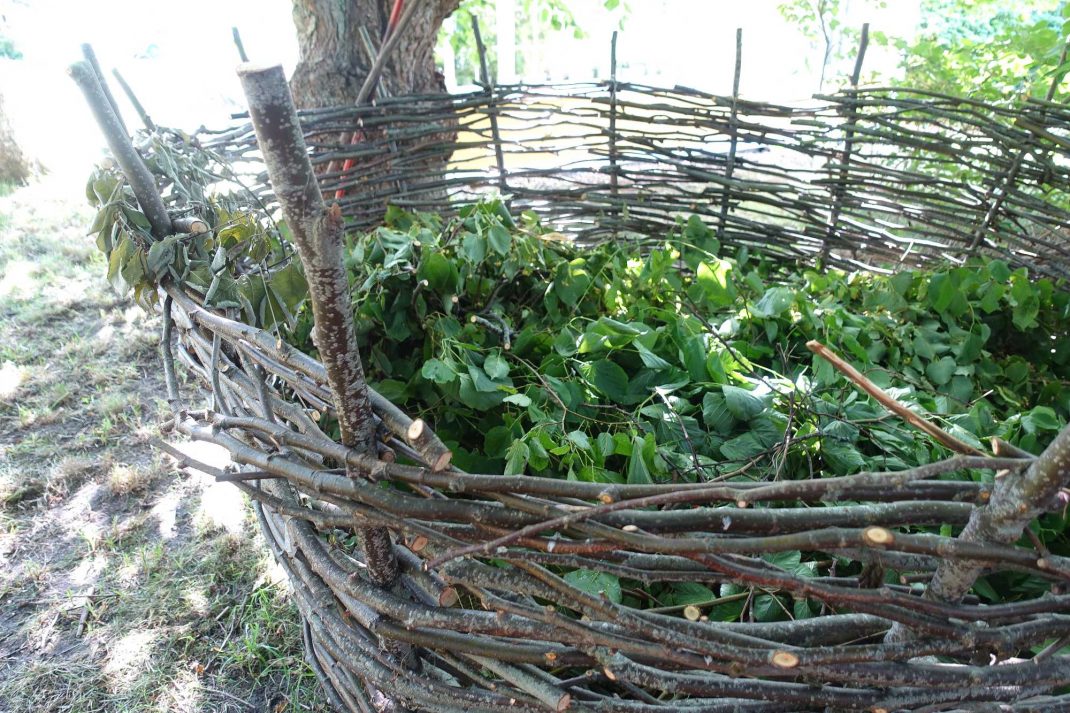
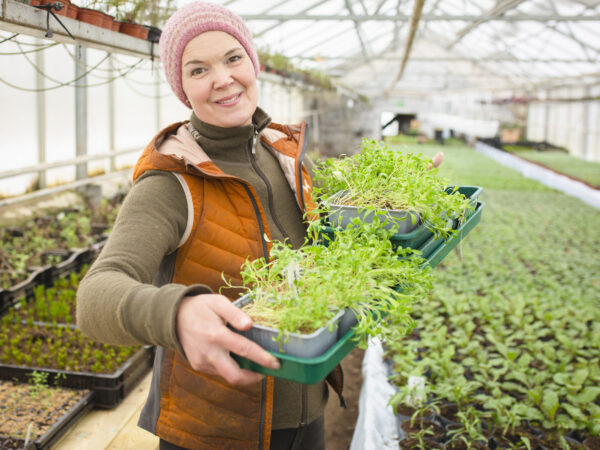
This beautiful woven compost basket has room for plenty of kitchen scraps.
I sometimes wonder why I feel this need to super-size everything. I rarely settle with less and always want to go for it 100 percent, no matter what I do. My kids and I recently visited my parents on the west coast outside of Gothenburg where I grew up. While in the garden, I saw one of my mother's beautiful woven baskets. Just noticing the sheer size of it makes me realize where I get my too much gene from!
It's all about compost
My mother Ulla has been building compost piles for as long as I can remember. There were plenty of piles everywhere when I was a child. One for kitchen scraps and another for plant parts from the garden. And one for twigs only. Some of them huge, held together with mesh wire fencing in large circles.
She started making these woven compost baskets around 20 years ago. She makes them from old bushes and twigs. These beautiful woven baskets are absolutely eye-catching.
The most recent one is a linden masterpiece, probably the best-looking one of them all. I'm actually a bit jealous! I think I need to start planting hazel, so I get enough material to build a giant woven compost basket too.
Here are my mom's best tips for building a woven compost basket:
You need:
- 17 thicker, straight branches that you can use as posts
- a large pile of tall, thin branches
- an axe
- hand pruners
- time and patience
Instructions:
- Cut off all the side shoots from the thicker branches, use a saw to cut the thick branches to 5 ft (1.5 meters) and then use your axe to sharpen one end on each stick.
- Remove the side shoots from the thin branches.
- Draw up a circle, around 6 ft (2 meters) in diameter. Put the thicker branches around the circle around 15-20 inches (40-50 centimeters) apart, with the sharper end pushed into the soil. Use the back of the axe to hammer the thick branch into the ground, leaning outward slightly. This will help you get that beautiful shape you are looking for.
- Walk into the circle and start weaving. Make sure that the first thin branch that you start weaving should be on the inside of one of the thicker branches, and then you wrap it around the outside the next one, and then inside again alternately.
- Keep weaving until your basket is tall enough. If you run out of thin branches, you could always keep working another day. Just remember that you can't leave the thin branches out too long before you use them since they dry out easily. This makes it harder to use them.
- Cut the thicker branches off a bit above the woven part when you are done with it.
More DIY from Sara's Kitchen Garden: Building a polytunnel

This is what the weaving looks like from above.
You can decide yourself how large you want your compost basket to be, but it's important to remember that you need an uneven number of thicker branches that you use as posts for the basket. As I said before, the weaving should go alternately on the inside and outside of the posts and the only way this can happen is if it's an uneven number.
More DIY from Sara's Kitchen Garden: Pots made from paper
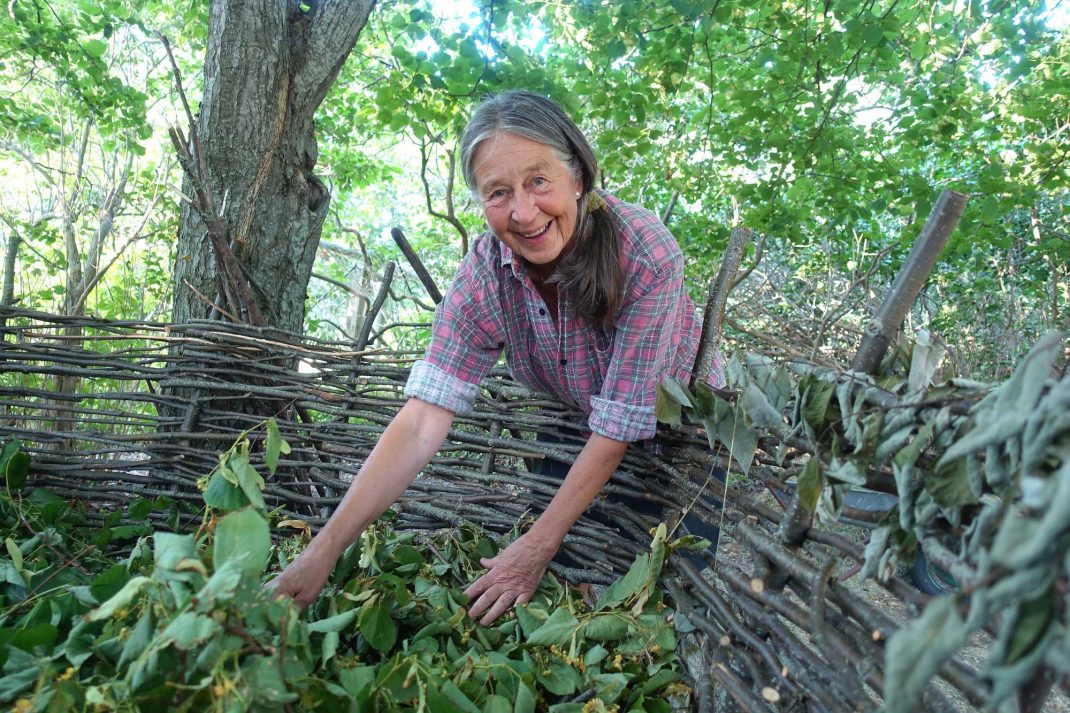
My mother Ulla Herlitz uses the compost piles for both old plant parts and kitchen scraps, but she makes sure to cover up the kitchen scraps so that the animals don't get to them.
Bury the compost
Start off your pile by putting a layer of grass clippings or leaves in the bottom. After that, it's easy to start adding scraps from your kitchen and your garden to the pile. Ulla makes sure not to put any animal sourced produce in there to avoid pests. When it's time to empty the kitchen scraps, she lifts the top layer and empties the bucket there, and then she puts the composting material back on top as a lid.
These baskets last a good while, it takes around ten years before they decompose completely, Ulla tells me. This is the final step where the basket and the compost become one.
What do you think, isn't it lovely? It's placed between two linden trees in the garden, in a shady spot. I don't have room for a compost pile this size in our own garden, but I'm thinking about building a smaller woven compost basket from for example blackcurrant twigs that I cut off soon after harvesting the berries.
/Sara Bäckmo
29. October 2021
Great idea. And beautiful! I was looking for ideas to use the branches I have recently trimmed off and I need a nice looking compost pile since I have a small yard. You came up in my google search. I'll be trying it. I wonder if I put it in the wet part of the yard that it will decompose quicker?
Thank you! Probably it will decompose a bit quicker. But that will happen also in a dry place, where the branches will dry and break sooner or later. Good luck with your compost!
what a wonderful way to beautifully handle compost! thank you!
I am so glad that you like it. 🙂