Soil analysis Part 1: Getting my soil tested
I want to know more about how my soil is doing! So, I decided to do a soil analysis and tested the soil in my polytunnels and in the raised beds outside. This is how it works!
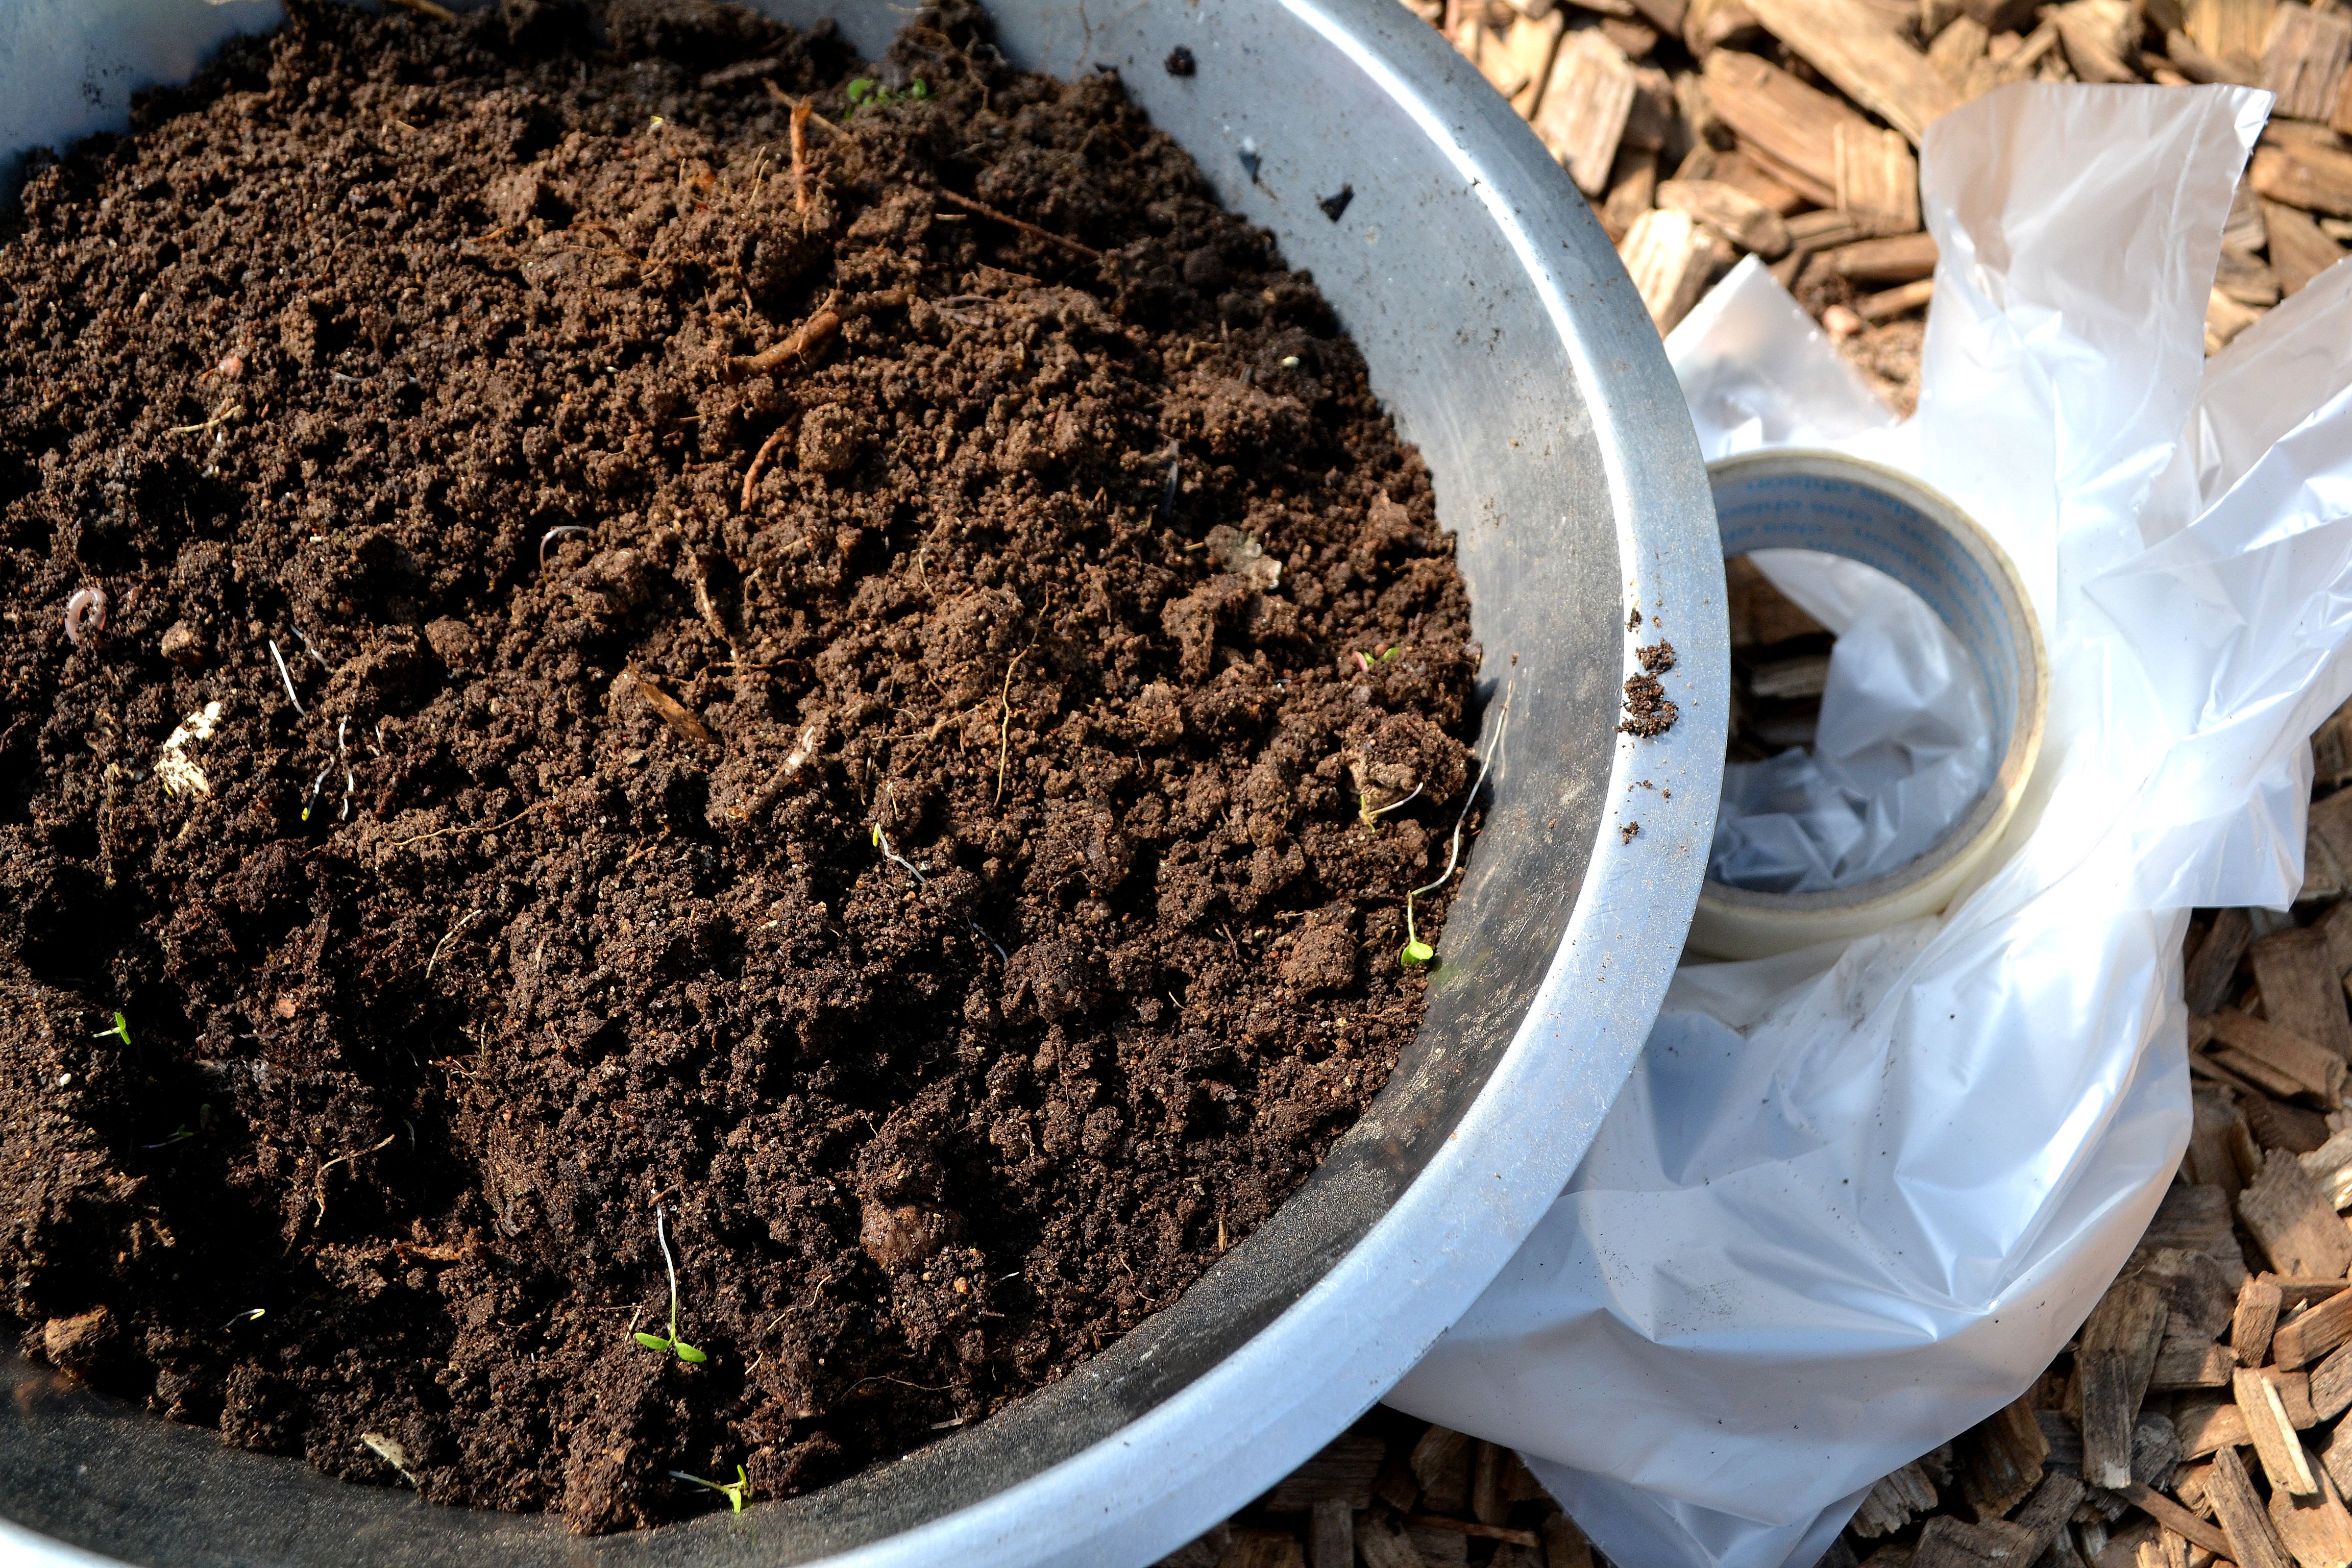
Soil from the large polytunnel, mixed and ready to be packed in bags.
I grow so many amazing vegetables in my garden. It's my eighth season and I have to say that it's going surprisingly well despite the extreme drought, coupled with the fact that I haven't been able to water very much.
I've come to realize that the soil here is truly fantastic. The texture is lovely, it smells good and it's really easy to work with. The roots seem to thrive and so far, I've had no reason to doubt the quality of my soil.
Nevertheless, I've grown curious and want to know more about it! Especially since I from time to time need to defend my decision to not use manure or regular store-bought fertilizers in my garden. Instead, I use mulch, compost, nettle water and diluted urine. Some fierce advocates of different types of manure don't think that this is enough.
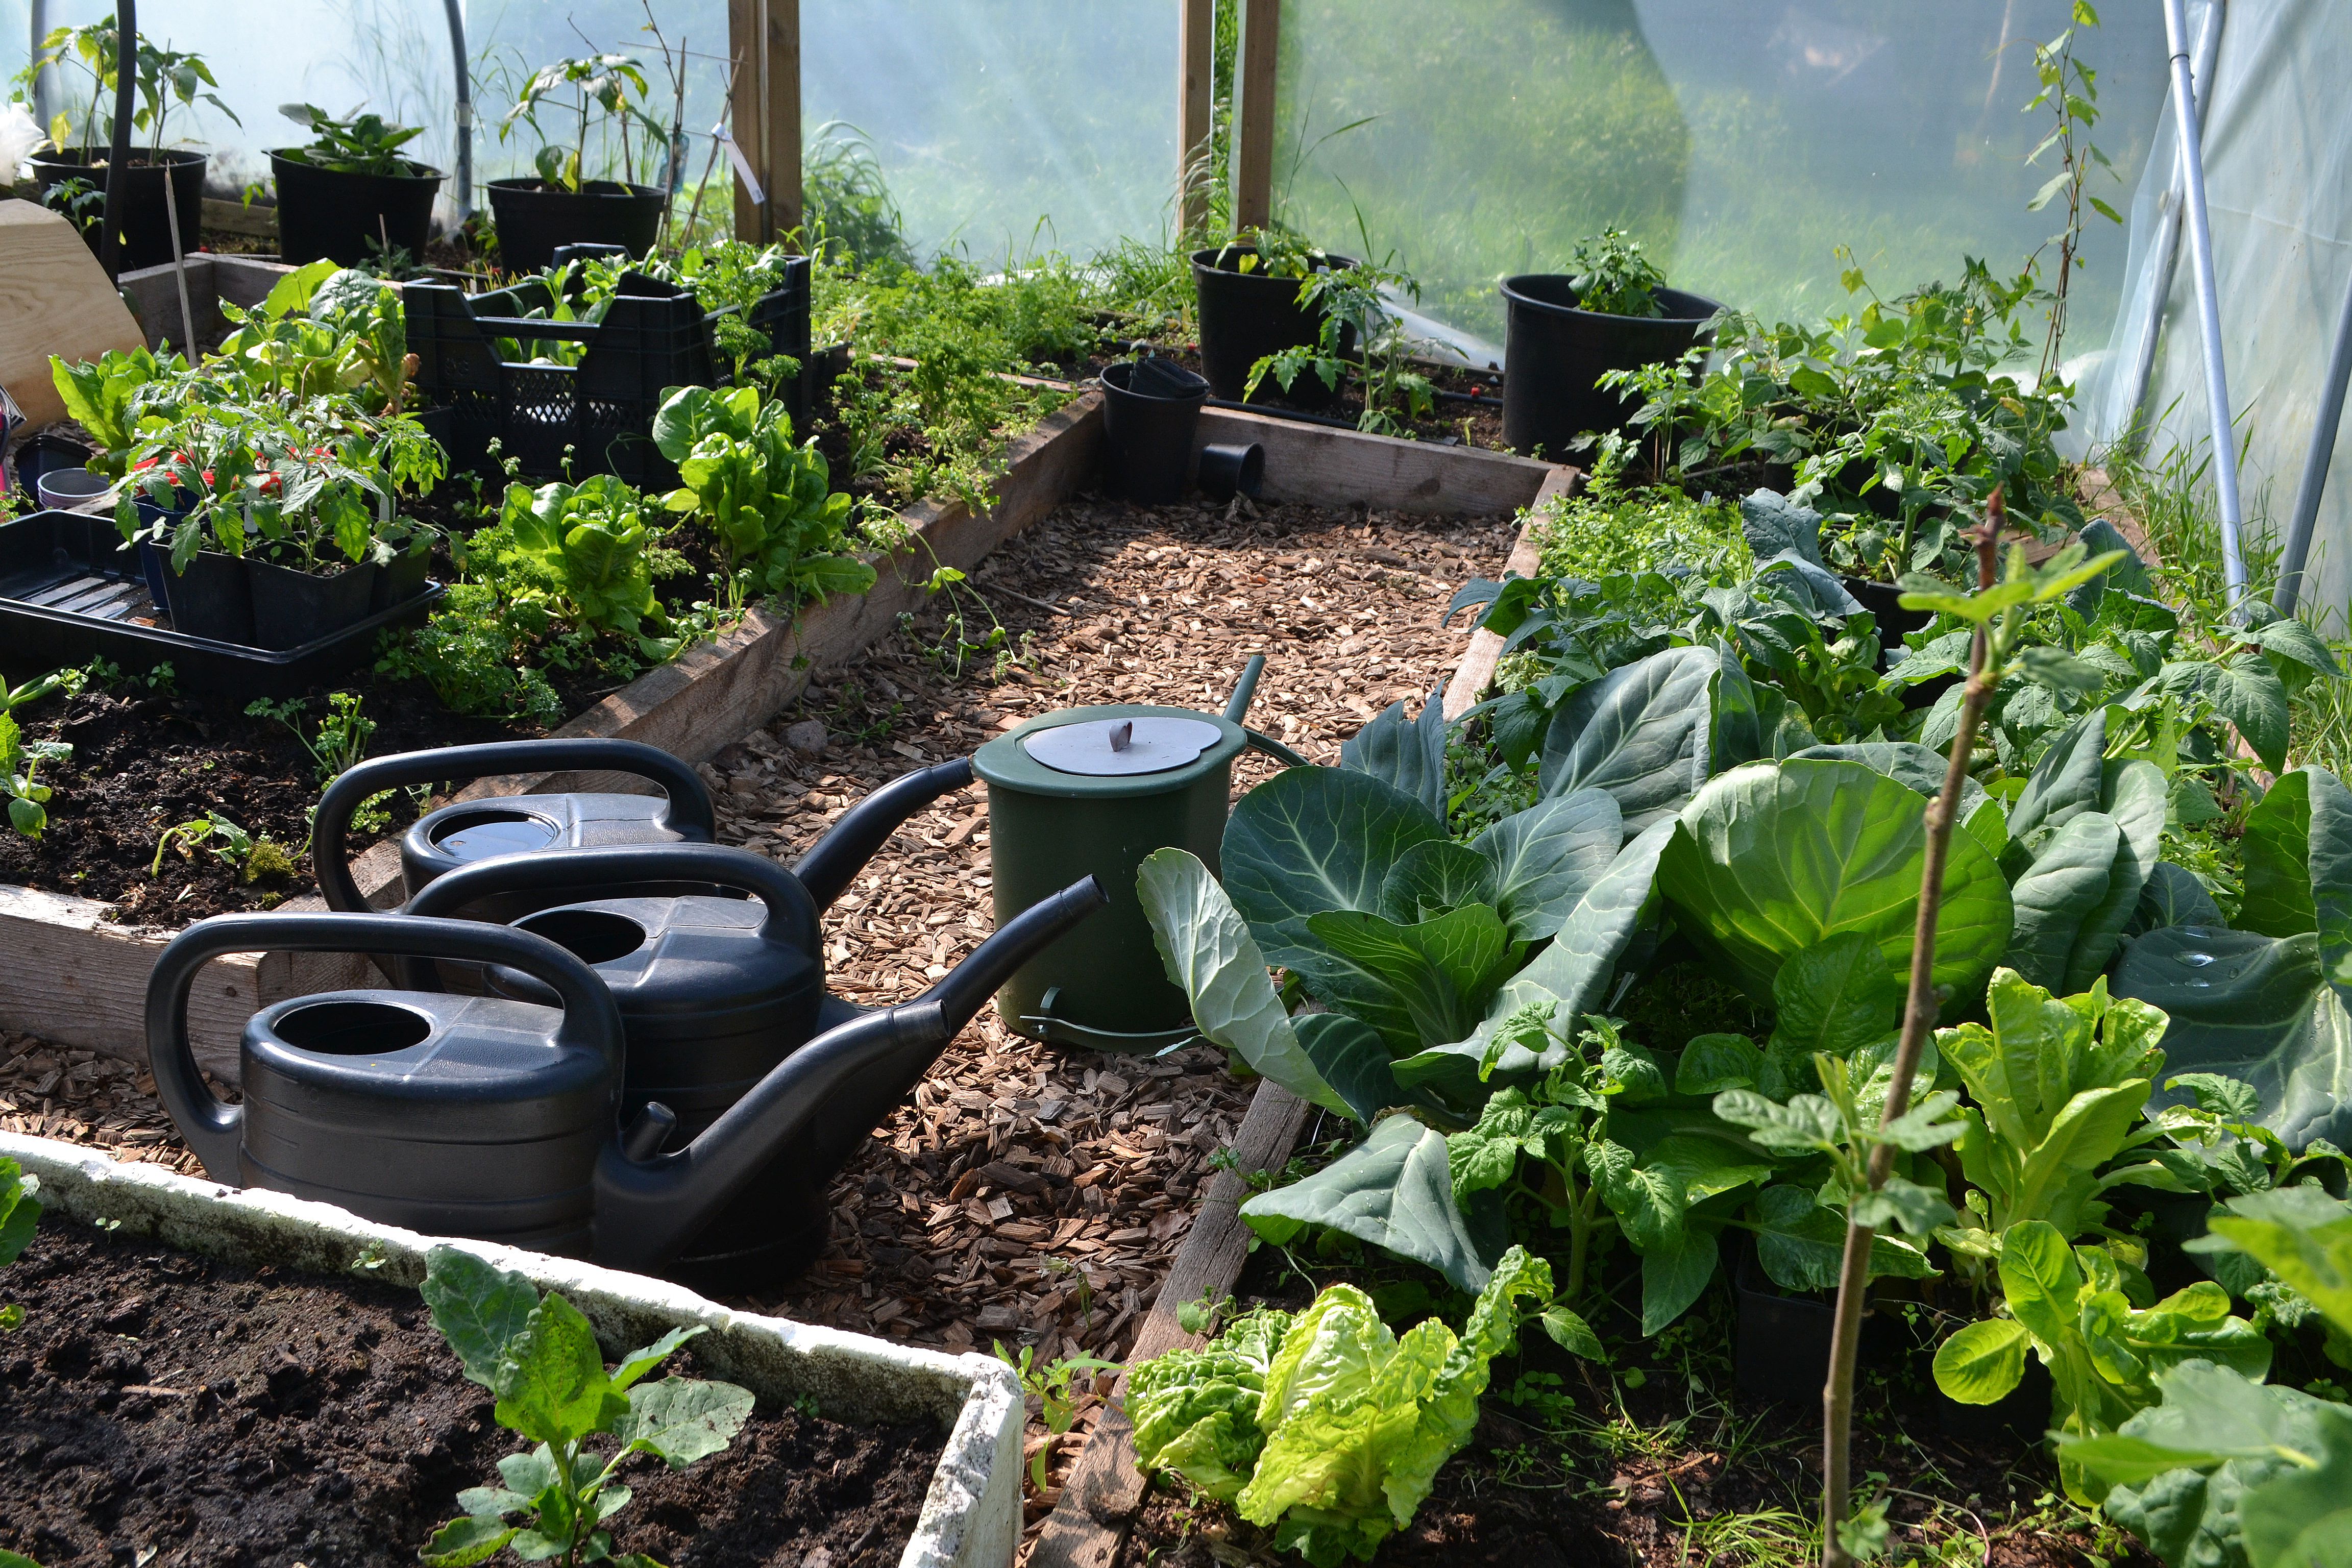
This is what my large polytunnel looked like when the soil samples were taken.
Soil analysis: How it's done
I submitted my soil samples to the company Sweco Geolab that will take a look at the nutrients in my soil, check the pH value and look for any heavy metals.
They use two different methods of analyzing the soil: the so called AL method which examines the available nutrients long term, and the Spurway method which in turn shows what the vegetables can absorb quickly.
I've decided to analyze three areas in my garden:
- Outside: My raised beds, I started growing in spring 2011. Mulched since fall 2011.
- The small polytunnel: Regular beds, started growing in spring 2015, no mulch.
- The large polytunnel: Raised beds, started growing in spring 2015, no mulch.
The soil analysis is done simply by taking a few shovels of soil from different spots in the chosen location and then mixing the samples in a bucket. Then I put half a gallon of soil in a plastic bag which I sealed and sent by mail. All in all, I sent three padded bags.
I decided to analyze my soil in May when I hadn't really gotten started on mulching or fertilizing with nettle water and diluted urine, outside or in my polytunnels.
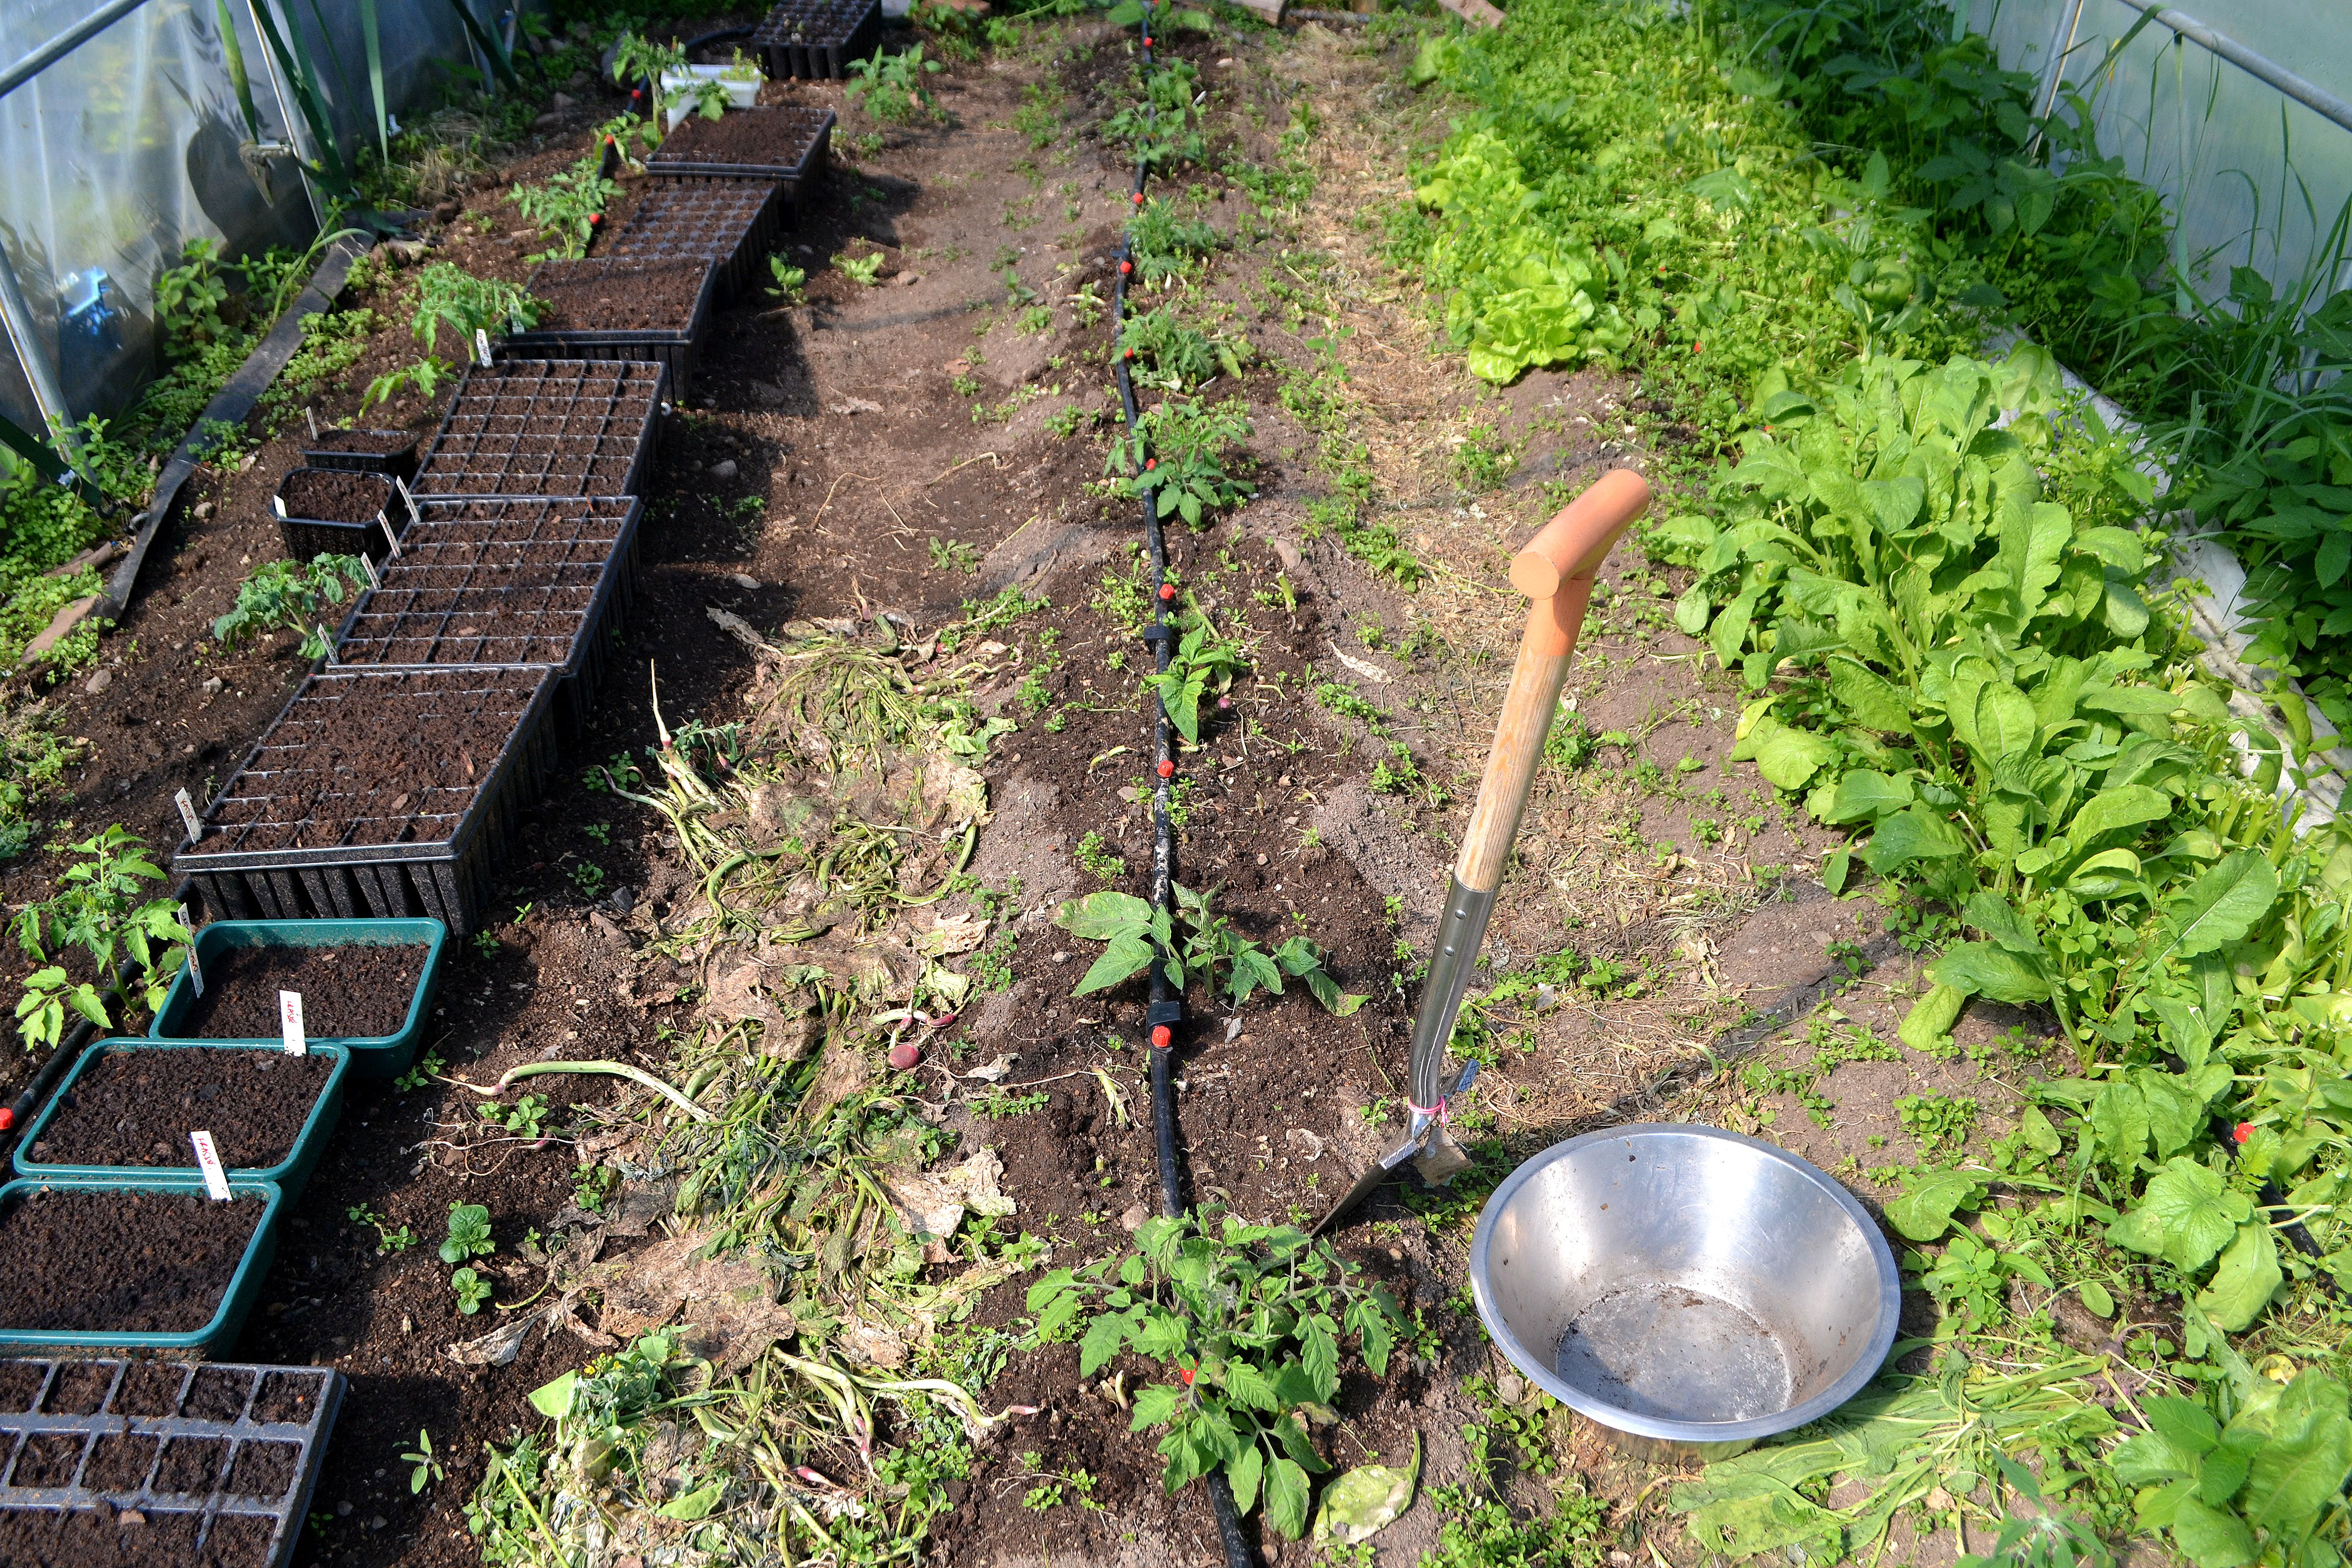
It was a bit difficult to take soil samples from the small polytunnel, since the beds were quite full.
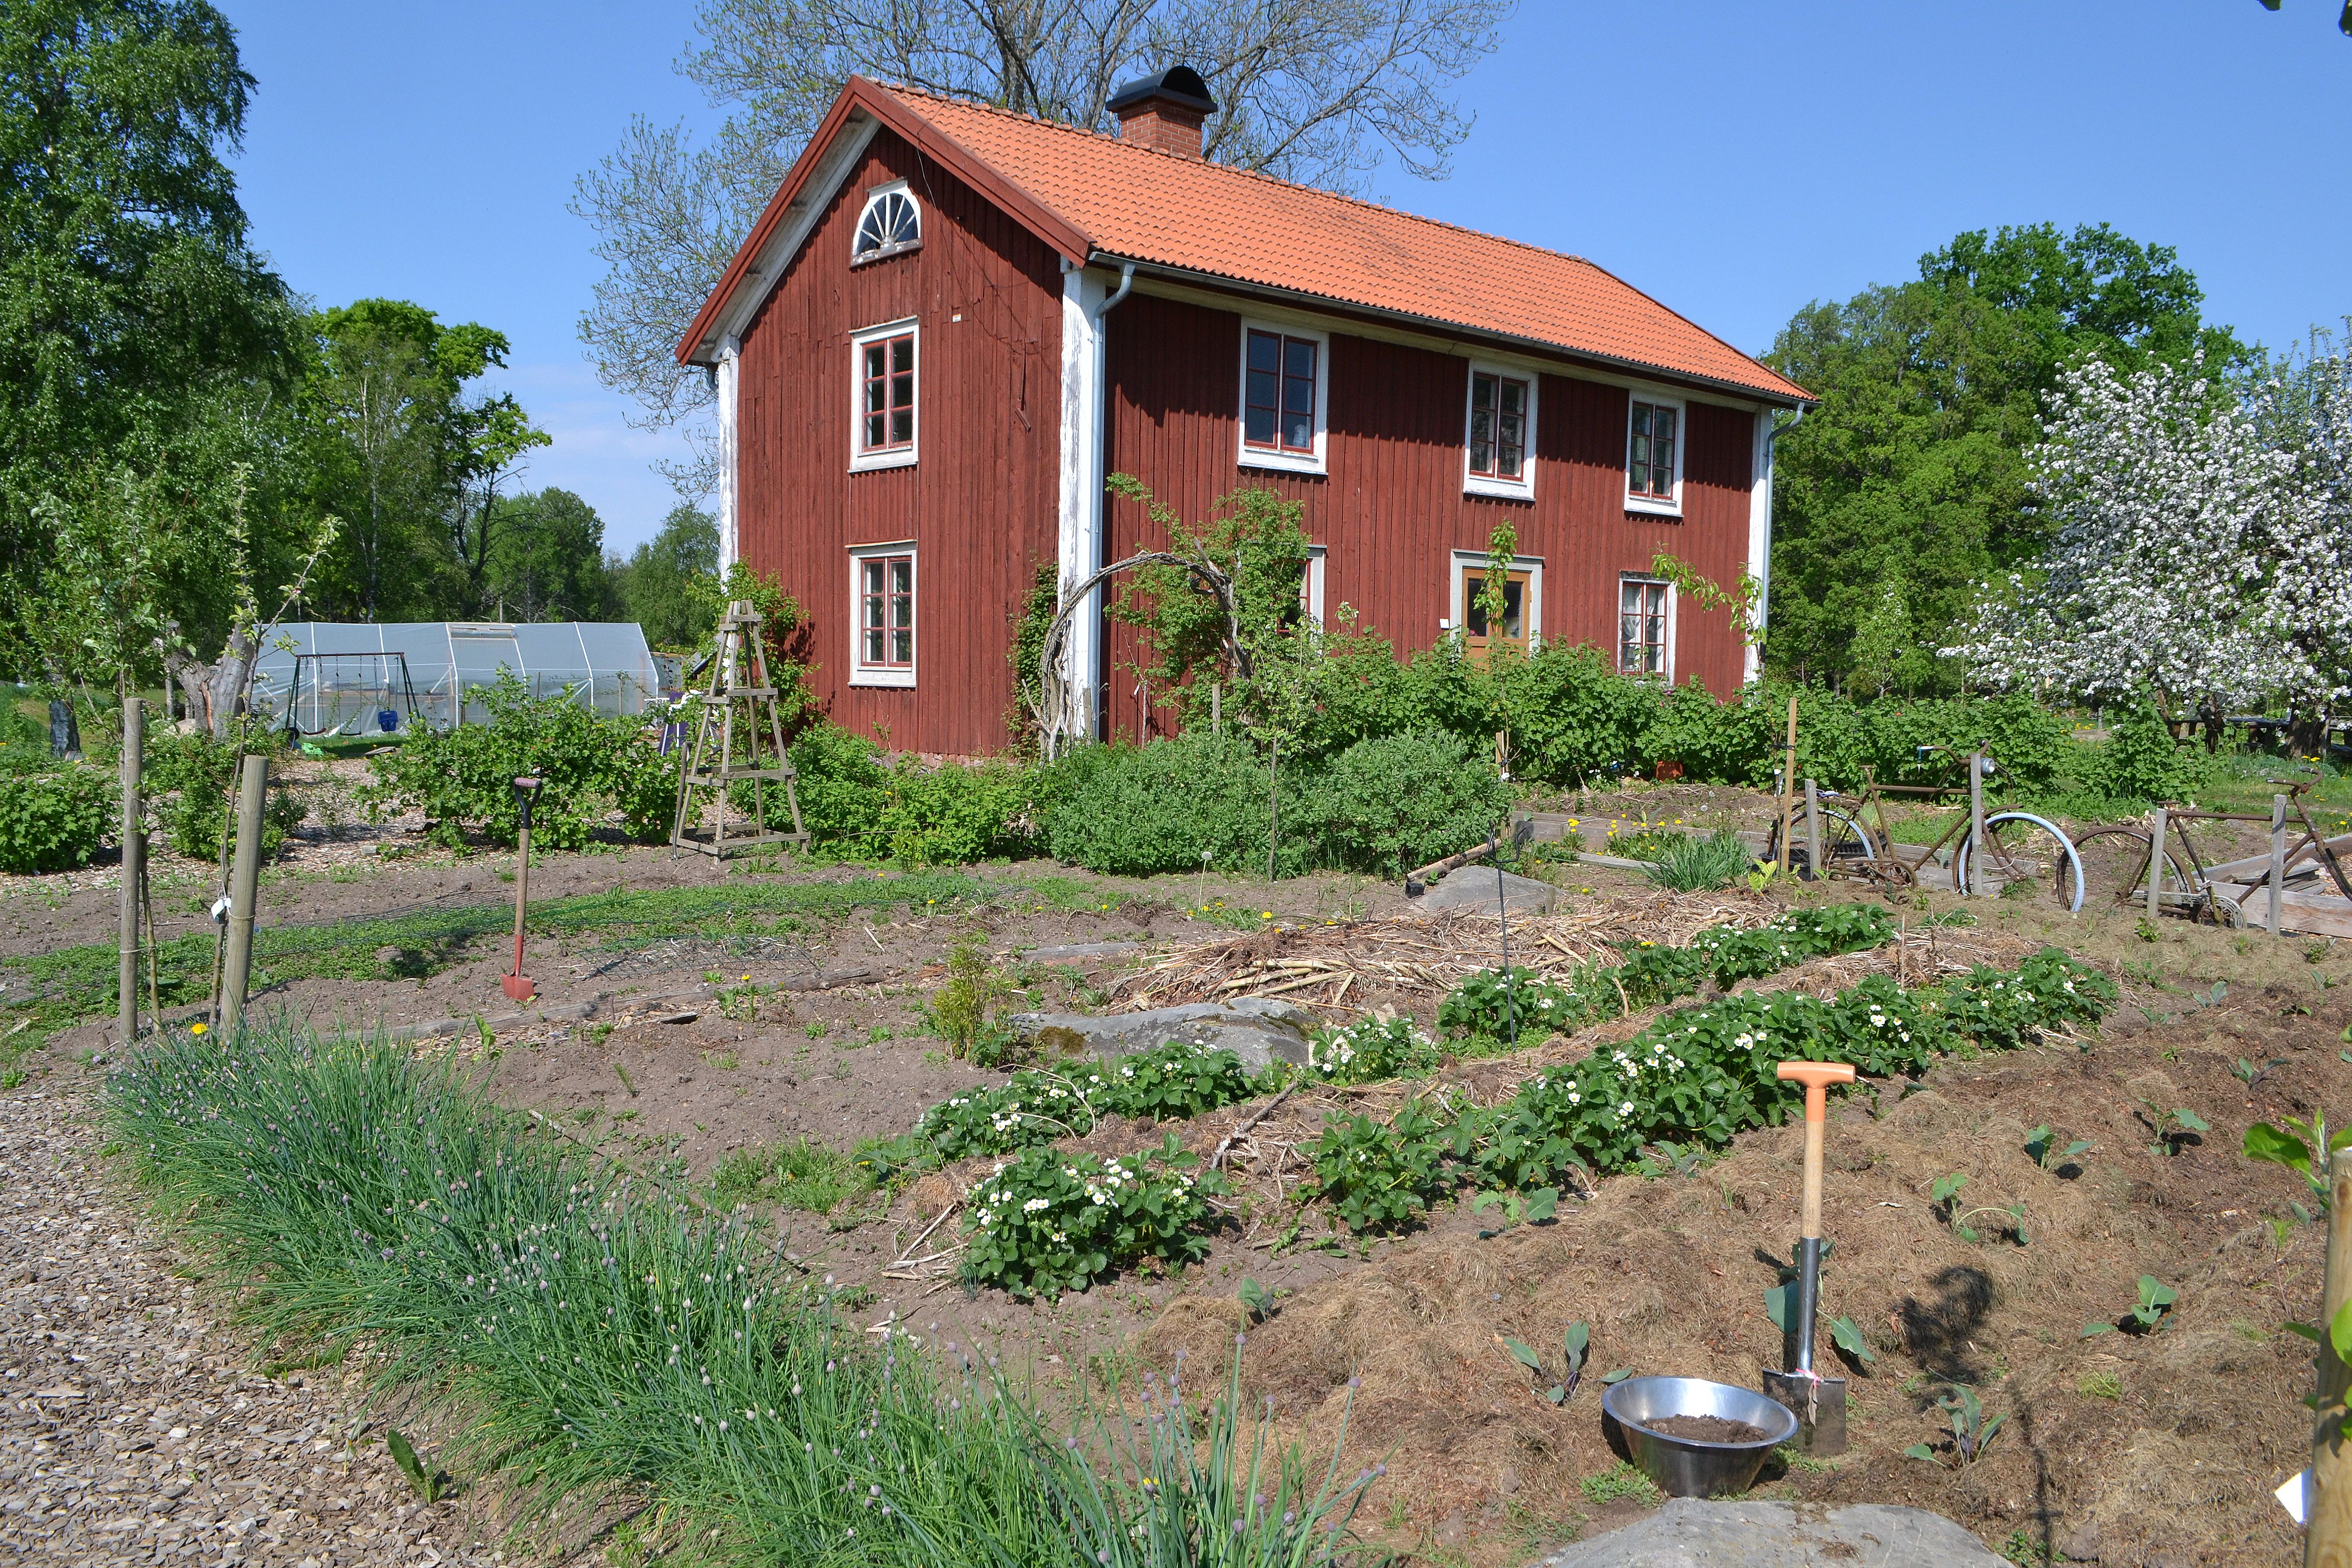
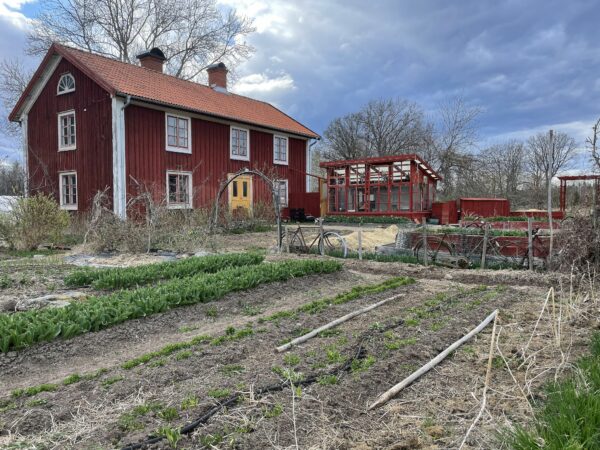
This is what the beds outside looked like when I took the samples in 2018.
Soil analysis is expensive
The tests I ordered cost quite a lot of money and I probably wouldn't do it if I was just growing as a hobby. But since the garden is also my job and I write so much about fertilizing with mulch, I think it's important to have a second opinion. I do, as many other gardening nerds, swear by mulching. But this time, I want more than anecdotal evidence. There is after all a small chance that I'm wrong!
Another reason why I was so excited to do the soil analysis is that I wanted to see if the results would differ depending on location. Especially since I mulch outside but not in my polytunnels.
Every soil analysis (I decided to do two separate tests per spot) cost around 230 euros (around 270 dollars) per spot. The heavy metal tests cost around 90 euros (around 105 dollars) per spot. The total cost of all of these tests is around 1600 euros (around 1900 dollars.)
Should I do it?
I've made some research into wether or not it's worth to do a soil analysis for those who only grow in their free time. From the information I've received, it seems like pH value and heavy metals are the most common standard tests. But these might not be the most interesting parameters. It's quite easy to measure the pH value yourself. And, it's much more interesting to look at the relation between the pH value and the available nutrients in the soil. This will give you a better picture of how healthy your soil really is. I'm going to learn more about this in the future though!
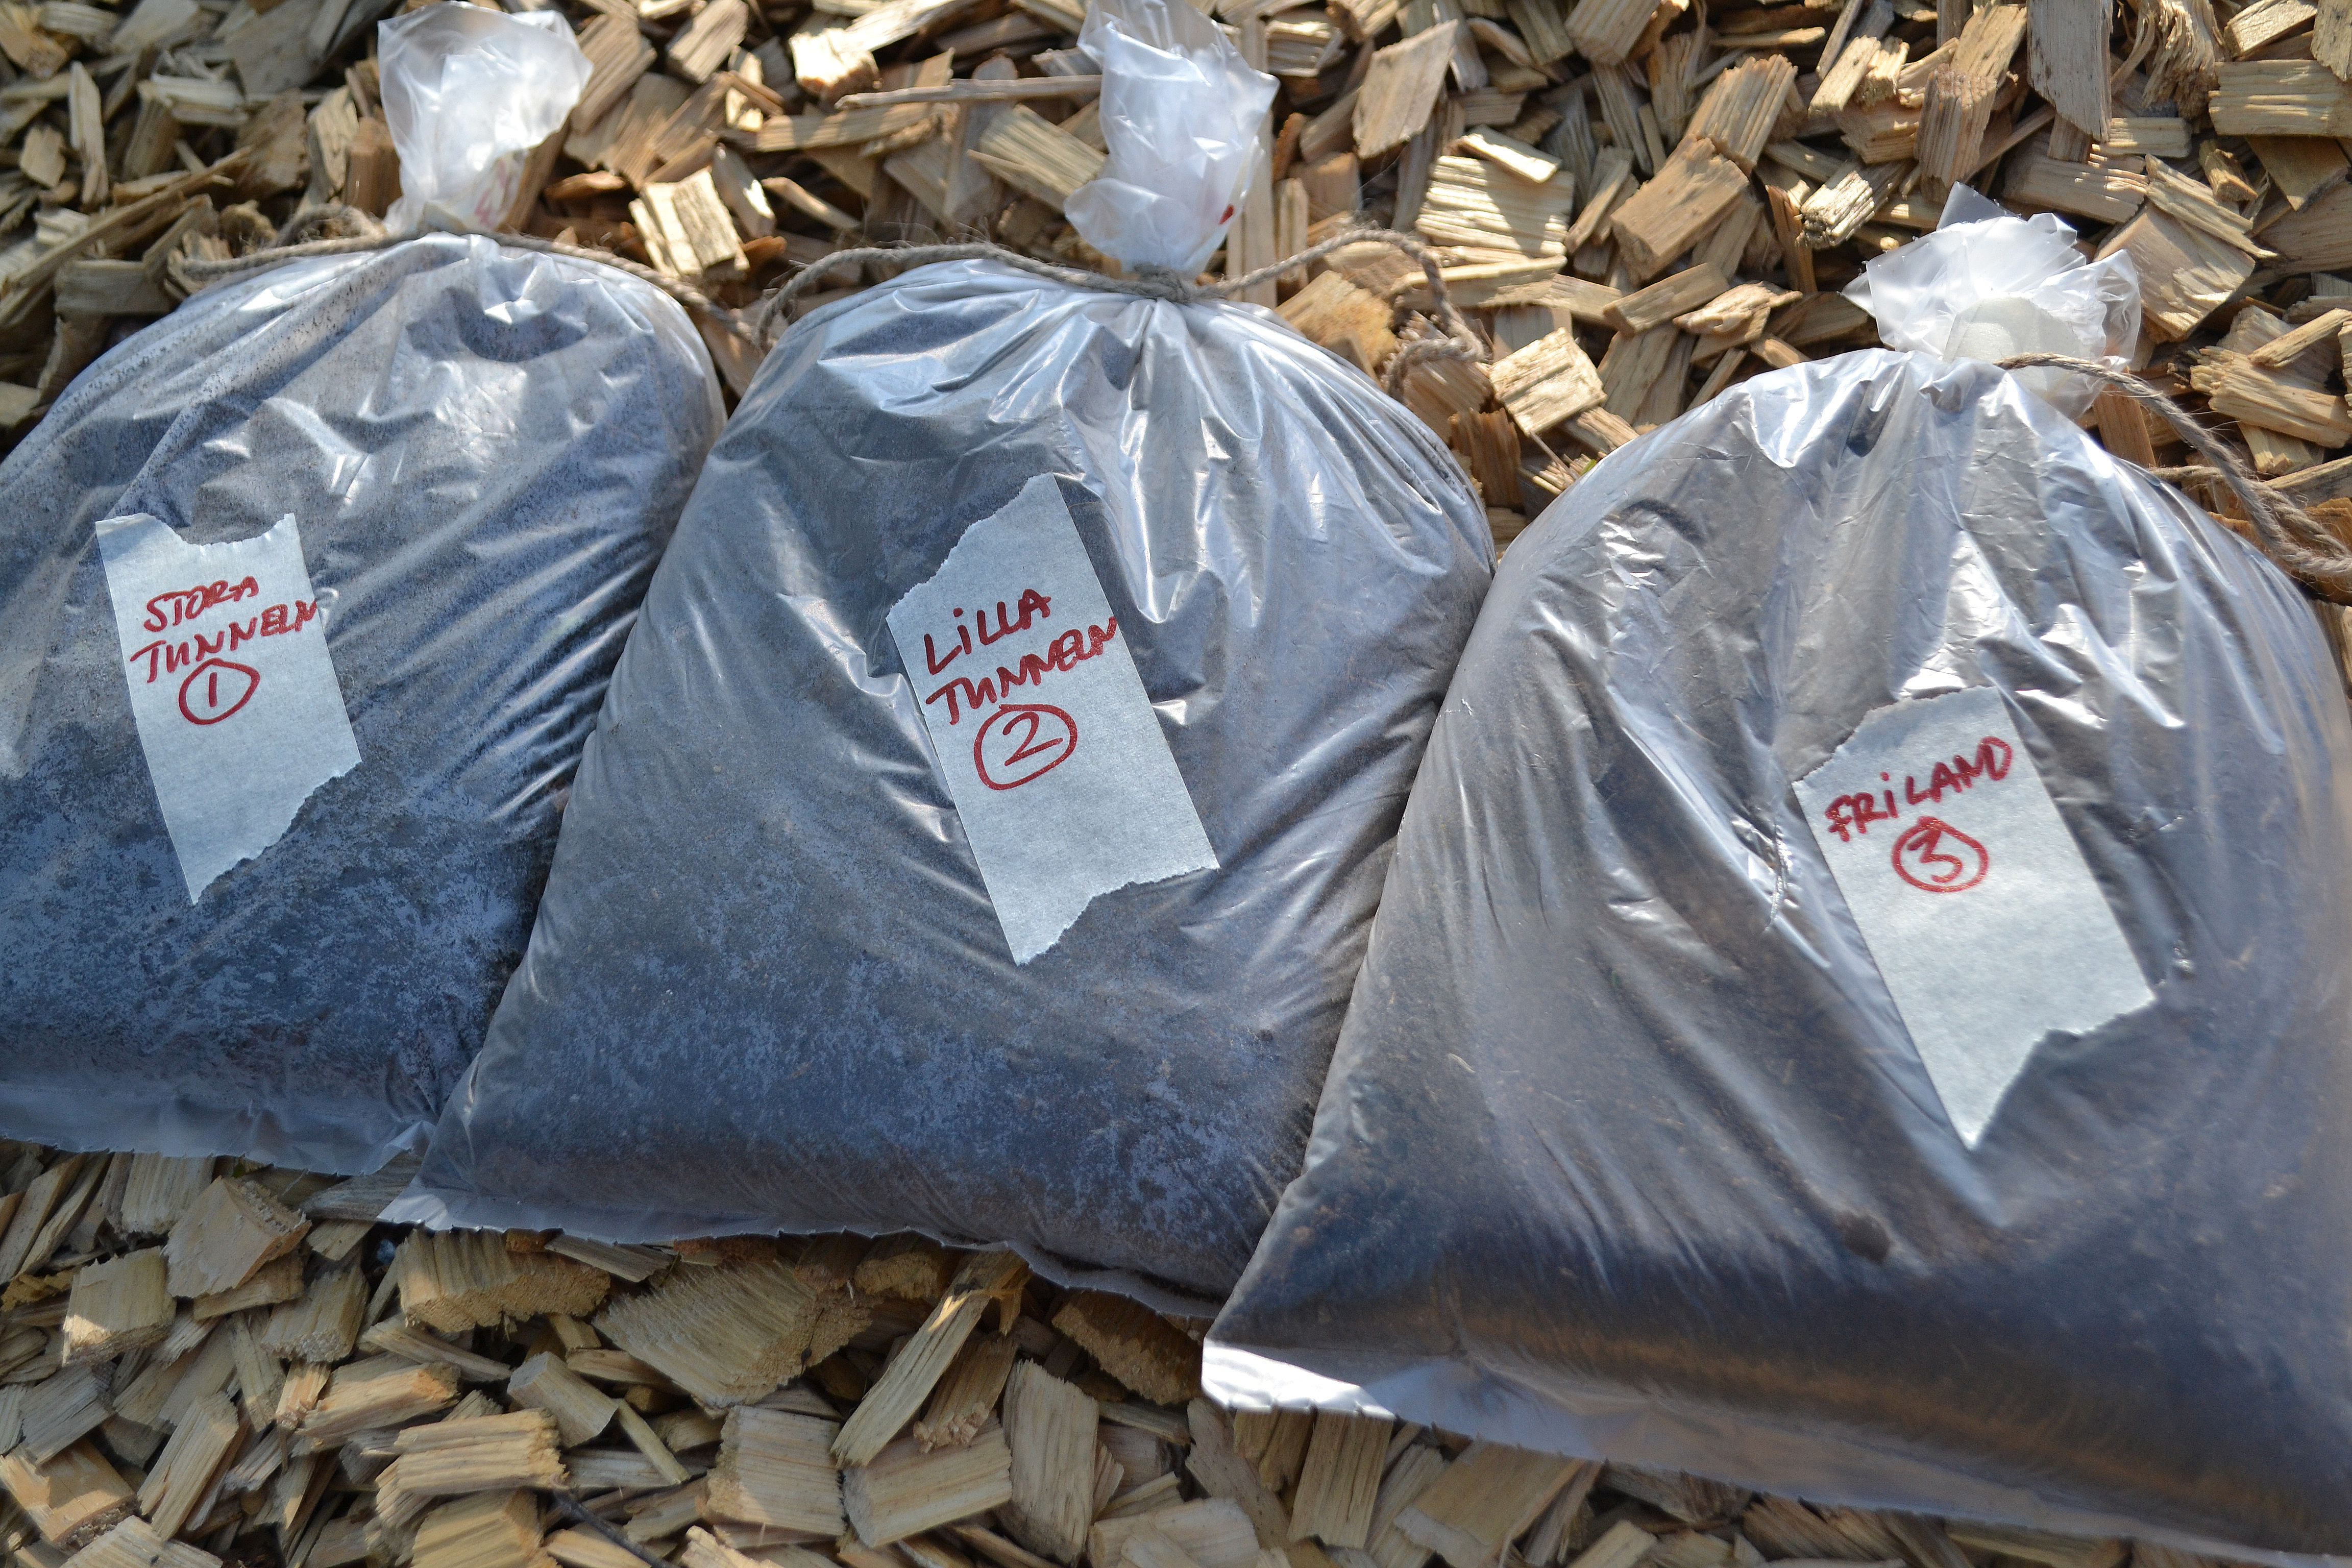
The bags with soil from three different spots in my garden.
It's been a while now and I'm so excited to get the results! There's plenty of proof that my soil is healthy. All I need to do is to take a look at all the beautiful vegetables we keep harvesting. But I'm still curious about how I can take care of my soil and what I can do to make it even better. There might after all be things I need to improve or change completely in the future. So why not be proactive about it?
To be continued…
/Sara Bäckmo
04. September 2021
Leave a Reply