How to Grow Microgreens at Home
Have you heard of microgreens before? It basically means growing plenty of leafy greens and harvesting them early. These tiny leaves are absolutely delicious!

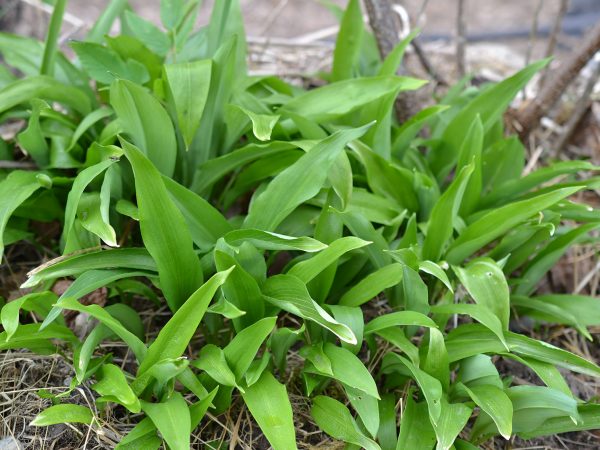
Bok choy is one of my favorites when I grow microgreens at home.
Microgreens are very popular right now. Especially with restaurants and cafes it seems, since almost everything gets a microgreen garnish nowadays. I don't mind it at all! These green leaves are both tasty and very healthy too. Some even say that the smallest leaves are the most nutritious. However, less is more seems to be case with the price too... Microgreens are expensive! So, why not grow microgreens at home instead?
Growing microgreens at home doesn't need to be difficult at all. Today, I wanted to show you a way to do it where you can get creative with the varieties and the troughs you want to grow them in.
Read more: 10 Vegetables you can grow indoors
You need:
You probably already have most of the things you need to grow microgreens at home.
- plastic troughs (for example grape boxes)
- soil (any type of soil is fine)
- leafy green seeds
- a tray you can put the sowing on
If you're completely new to growing, you should know that you can get both seeds and soil from the supermarket. Make sure to pick up a few of the grape boxes while you're there. You can probably find trays to put your sowing on at home.
The great thing about growing microgreens at home is that you can use any leftover seeds that you don't really know what to do with. Perhaps from a seed packet that contained more seeds than expected. Or, you bought a few too many seeds on sale and need to get rid of them. I often grow microgreens in these types of situations!
Read more: Grow your own fast food at home
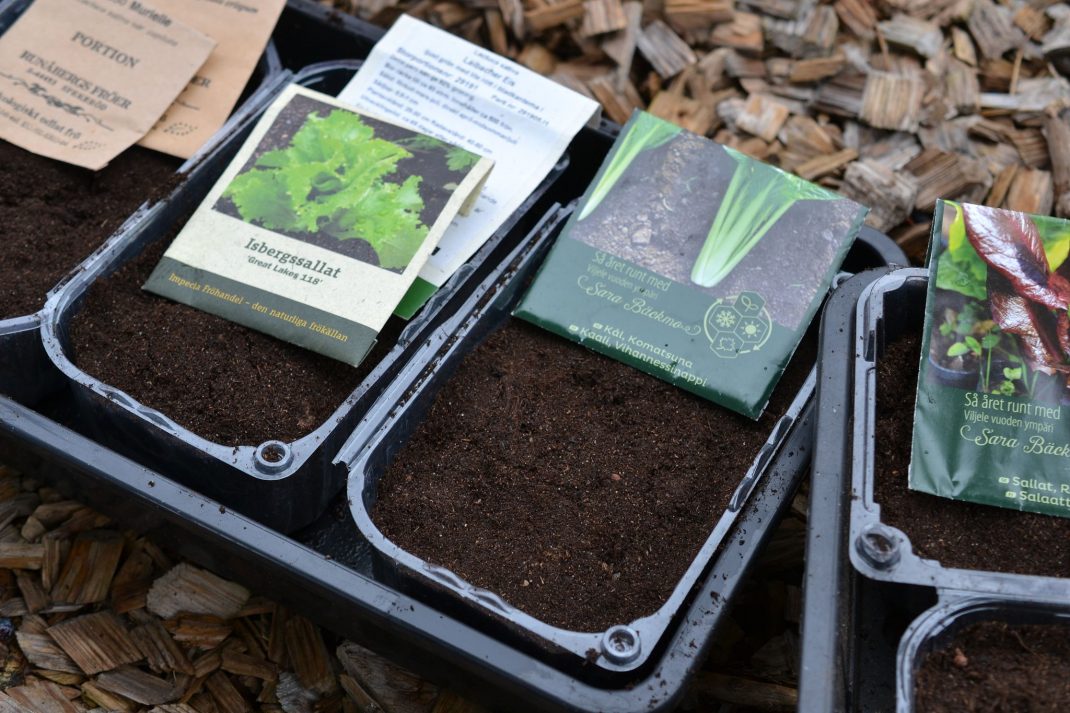
Soil, troughs, seeds and some type of tray or similar is all you need to get started.
Which vegetables?
You can use pretty much any leafy greens that you grow outdoors, and some. Here are my favorite microgreens:
- lettuce
- spinach
- parsley
- arugula
- bok choy (pak choi)
- radish
- komatsuna
- beet
- basil
- peas/pea shoots
- fava bean shoots
- oregano
You can of course find plenty of other options. Let your imagination run wild!
Instructions:
- fill the trough halfway with soil
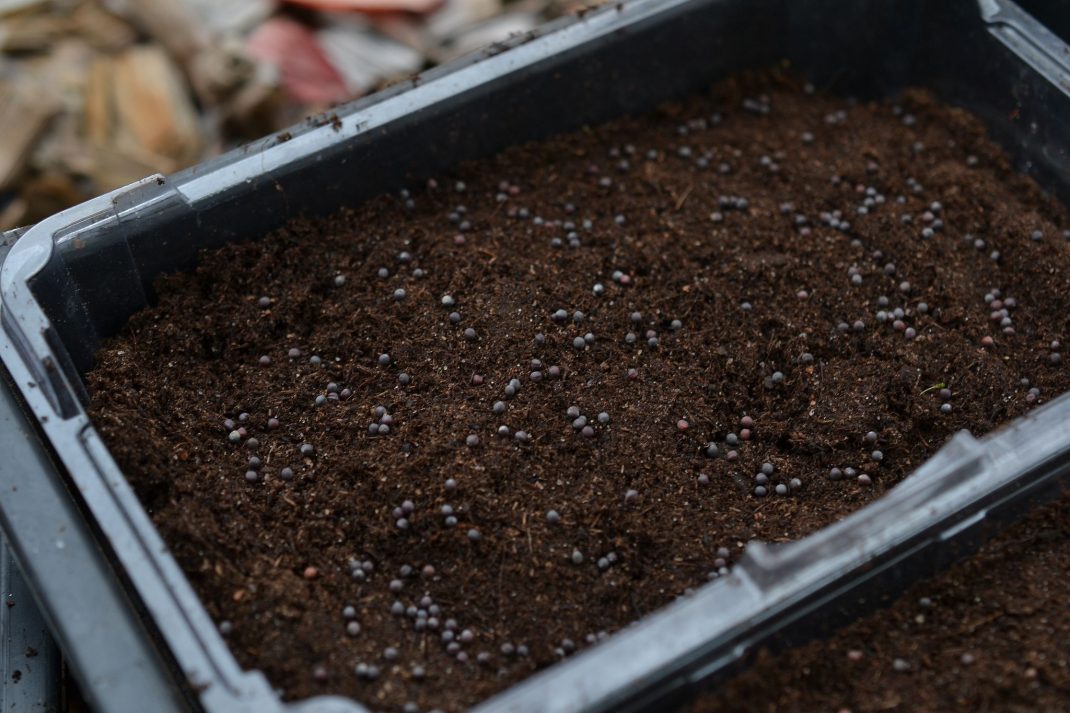
- scatter the seeds close together on top of the soil
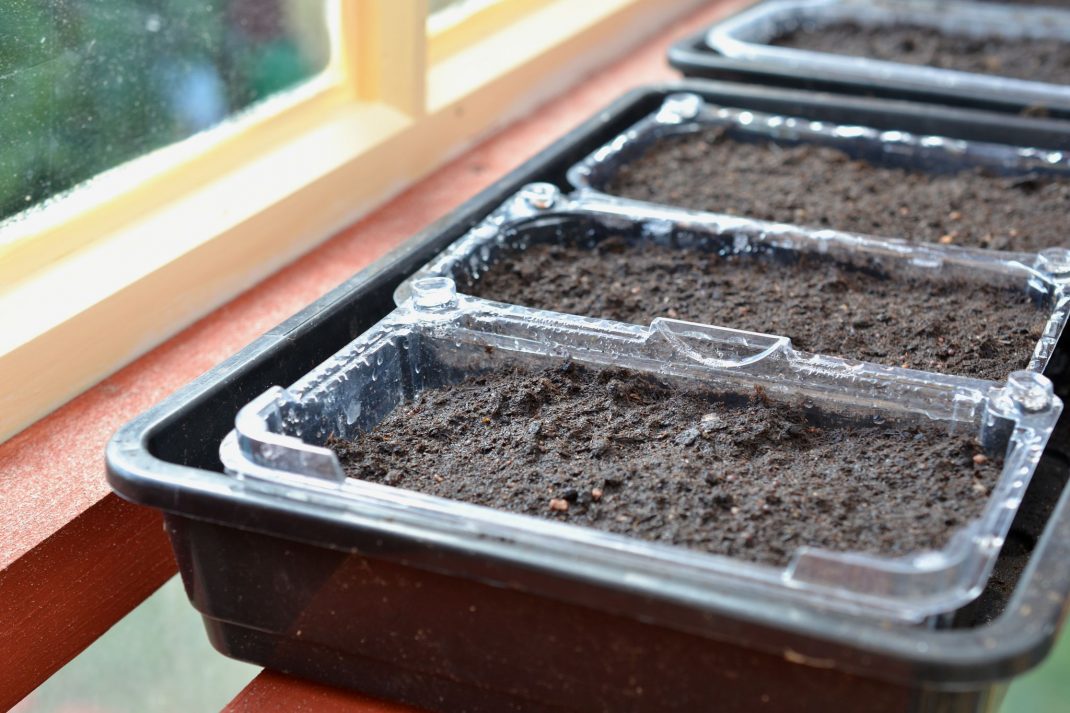
- add a layer of soil on top
- put the trough on a tray with water
- put the sowing in your window or underneath a grow light
The pictures show sowings I did on September 20th 2020, and I put them in one of my greenhouses once it got colder outside. It's actually been freezing, but the leafy greens are hardy and can take the cold. I have all in all six troughs with spinach, bok choy, komatsuma and three lettuce varieties. It's time to harvest my microgreens four weeks after sowing!
Remember to provide your microgreens with enough light late in the year. For us here in zone 3, we need to put the sowing indoors and also add a grow light in late fall. There are plenty of great products online, I really recommend getting a few!
More: How to grow fava bean shoots
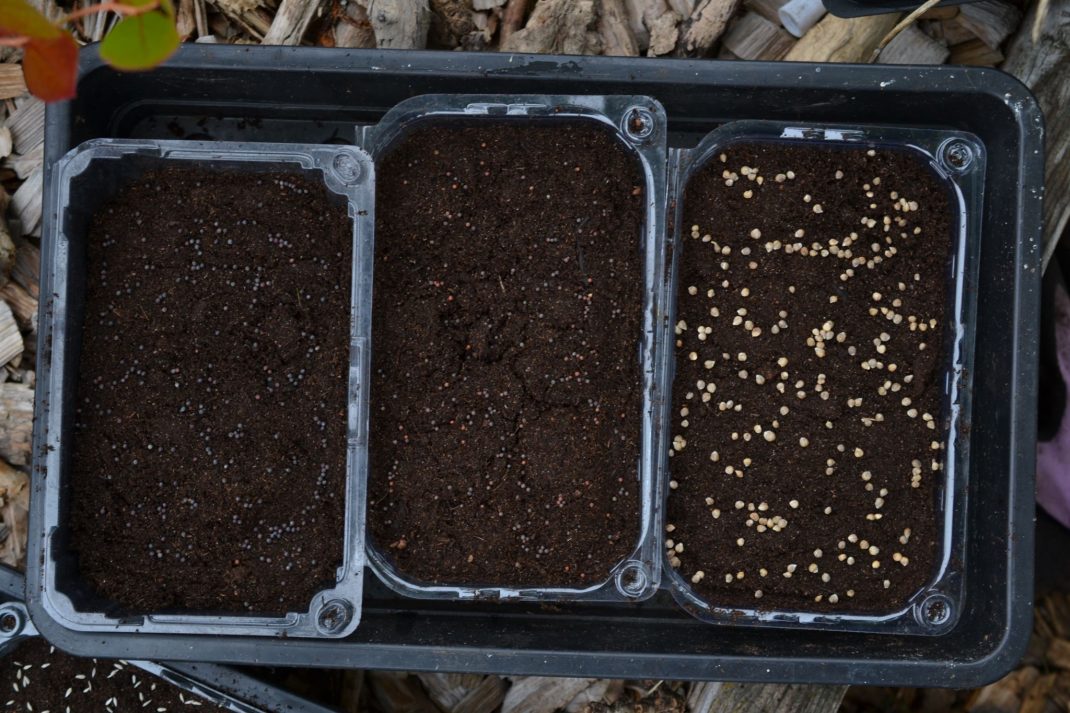
I simply scatter the seeds on top of the soil when I grow microgreens at home.
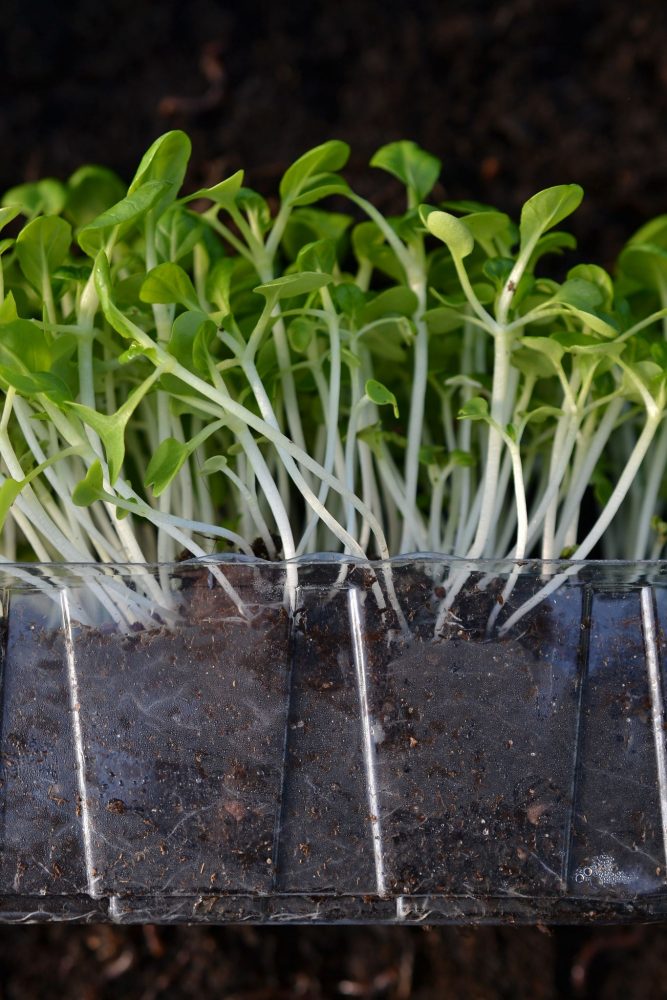
Here we have baby bok choy seeds. As you can see, the seeds are very close together. I decided to completely ignore the instructions on the back of the seed packet.
I kept the sowing in my greenhouse for 4 weeks and I water the trough and not the soil.
Grow Microgreens: Harvesting
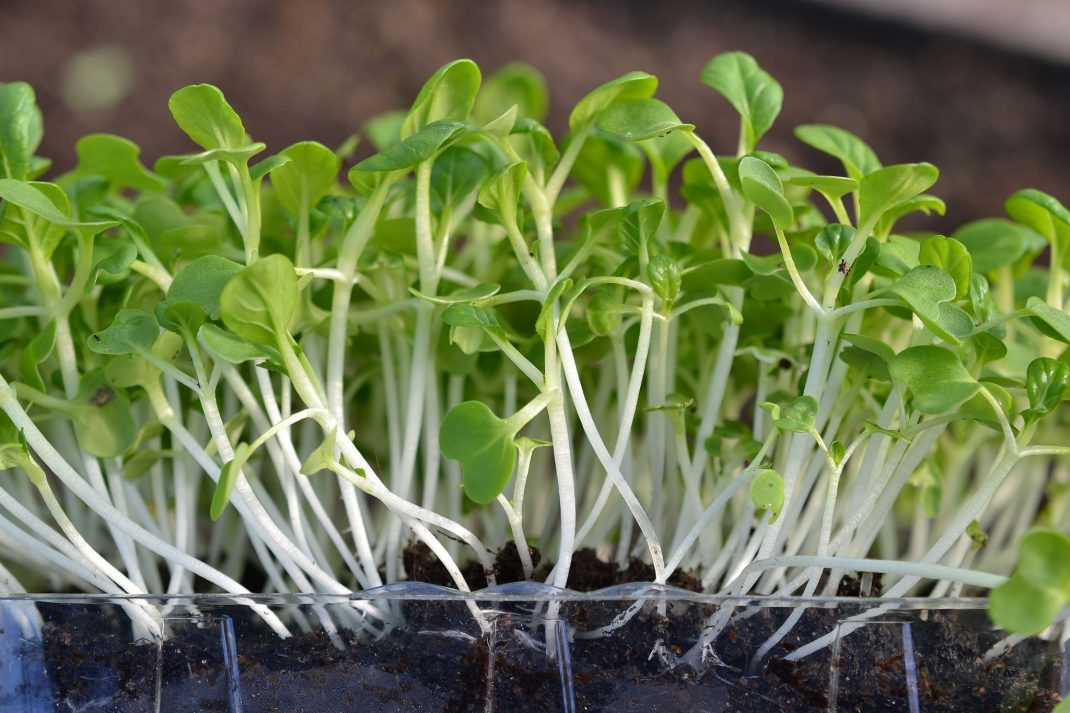
Only you can decide when it's time to start harvesting your microgreens. If you want tiny leaves, then you can settle for the size in the top picture. But, you can of course also wait a bit longer until the mircogreens grow larger. 4-6 weeks after sowing is usually enough, depending on where you keep the sowing and how fast the leaves grow of course.
One thing you need to remember is that the longer you keep your greens in the trough, the leaves can go yellow. This is a sign of a nutrient deficiency in the soil. Regular planting soil contains all the nutrients the plants need in the beginning, but you do need to add some more after a while. Your best option is probably to harvest the plants before soil depletion. It might seem a bit weird that even plants this size can cause this to happen, but you have to remember that we grow so many of them in a smaller area. This is just the way it works!
Read more: How to grow baby spinach at home
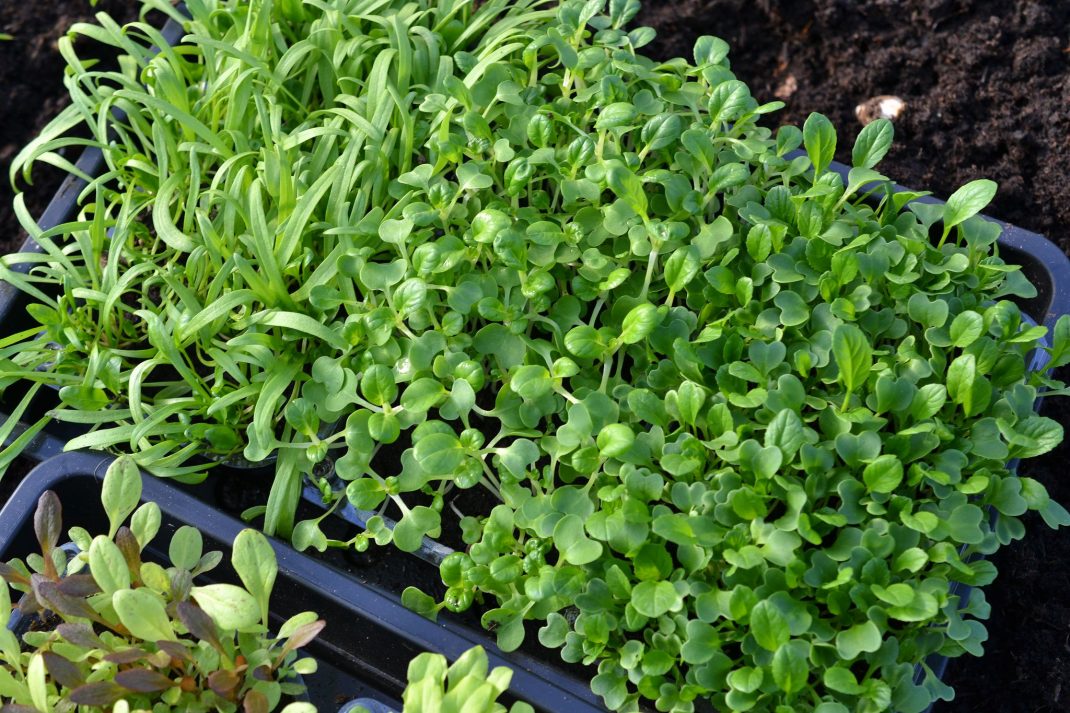
This is what my troughs look like after 4 weeks. I grow microgreens in a cold greenhouse and they look great despite a few days of frost outside.
Bok choy is a quite mild cabbage and one of my favorites when I grow microgreens at home. You can for example put the leaves on sandwiches or in salads. The bone white stalks are so crispy and delicious!
One trough is clearly not enough when you grow microgreens at home. If you do it in winter, then you'll want to have several ones going at roughly the same time.
If you want to keep growing vegetables in late fall and winter, I think you should try to grow microgreens. It's simple, fun and they taste great too! Don't forget to follow the links in the post to learn more about how to grow microgreens, and much more of course!
/Sara Bäckmo
Leave a Reply