Tips and tricks: How to make a garlic braid
I just love making a garlic braid with my homegrown bulbs. It's a convenient and beautiful way to store garlic at home. Try it!
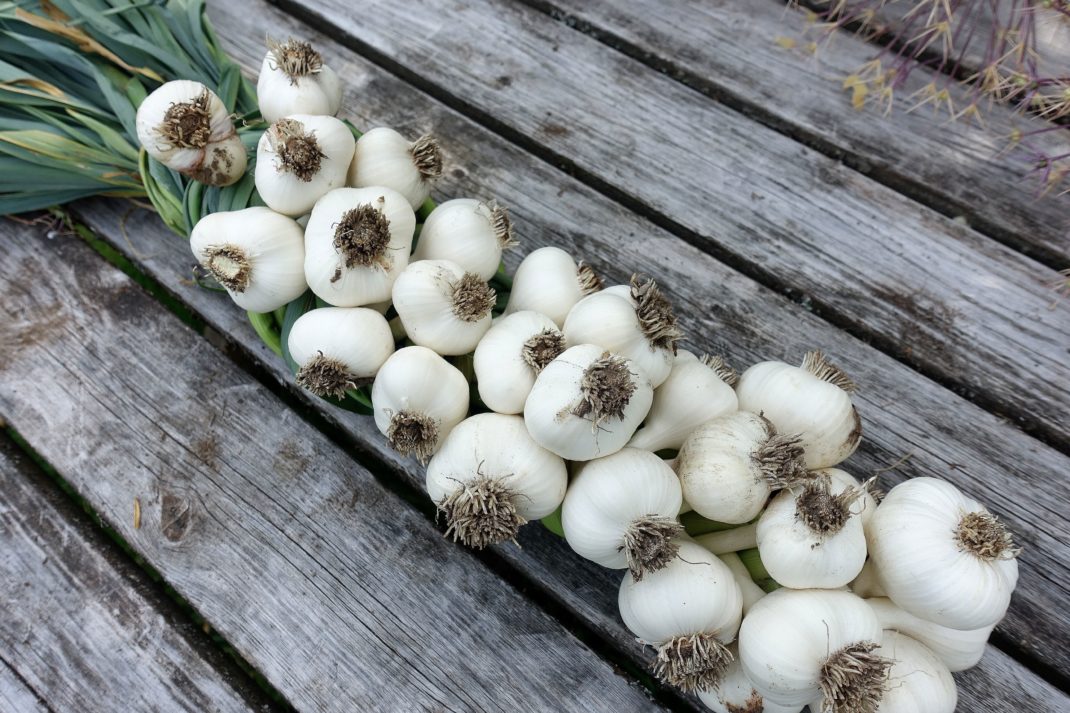
A simple but beautiful garlic braid.
One of my followers on Facebook asked me how to make a garlic braid, just like the one in the picture above. I really like braiding garlic since it's so easy to store it. You simply hang your garlic braid somewhere, and it looks so pretty too. Storing the garlic like this means that I don't have to make room in baskets and troughs on the floor or in my cupboards.
Read more: My homegrown roasted garlic
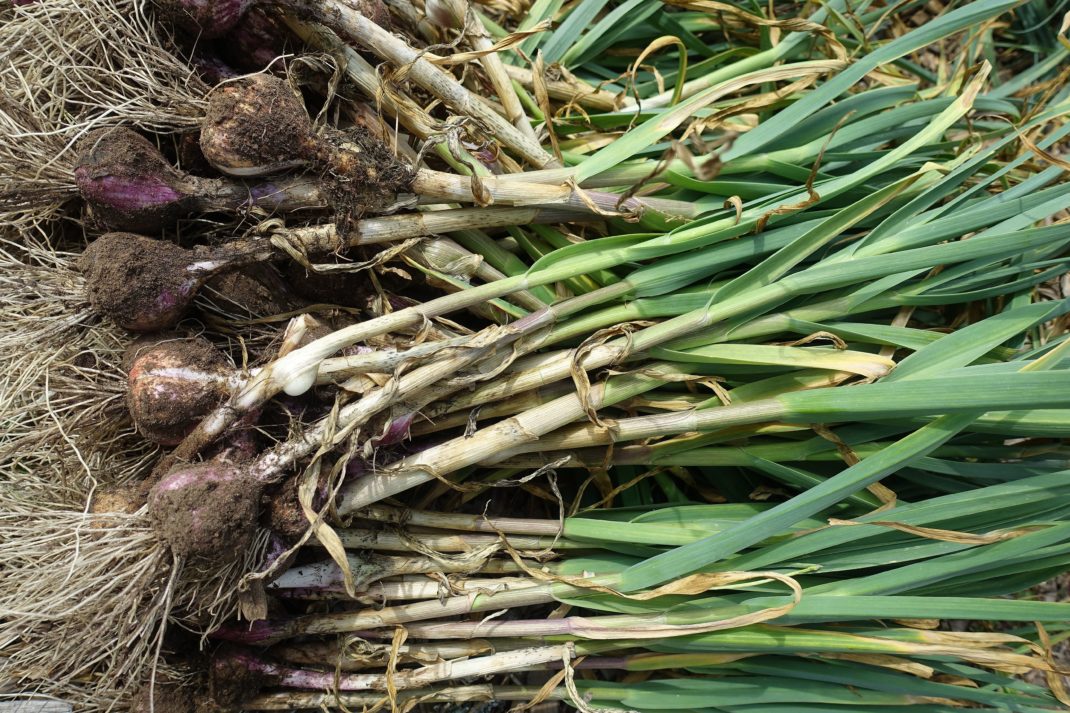
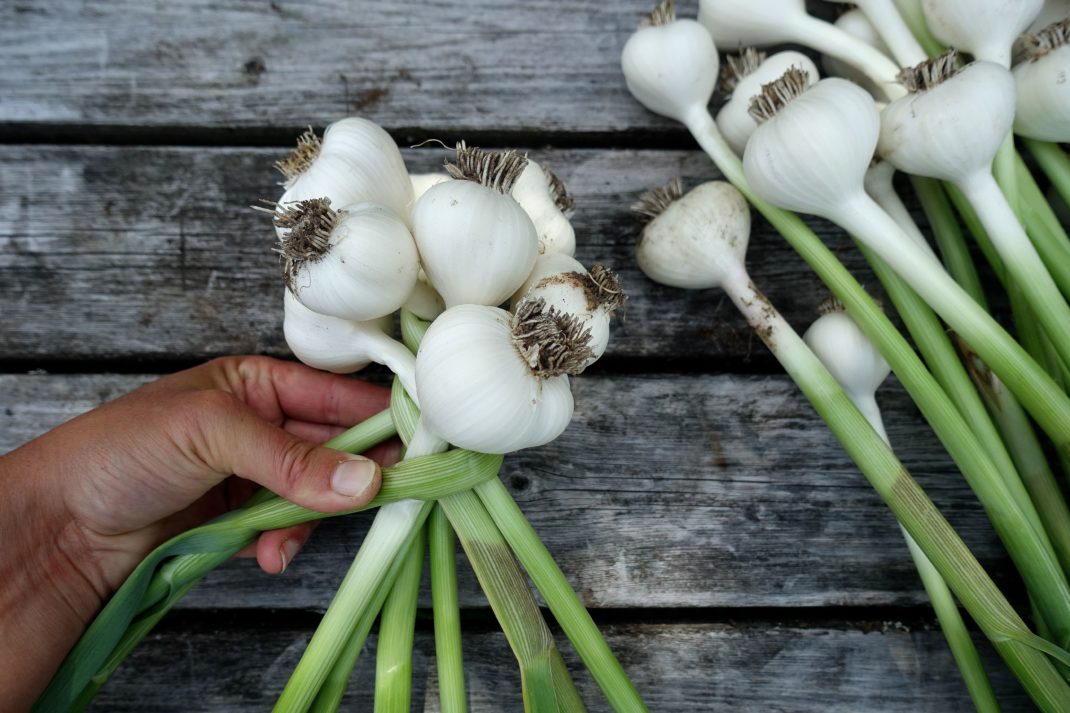
The newly harvested garlic is covered with soil and some of the leaves look a bit worse for wear.
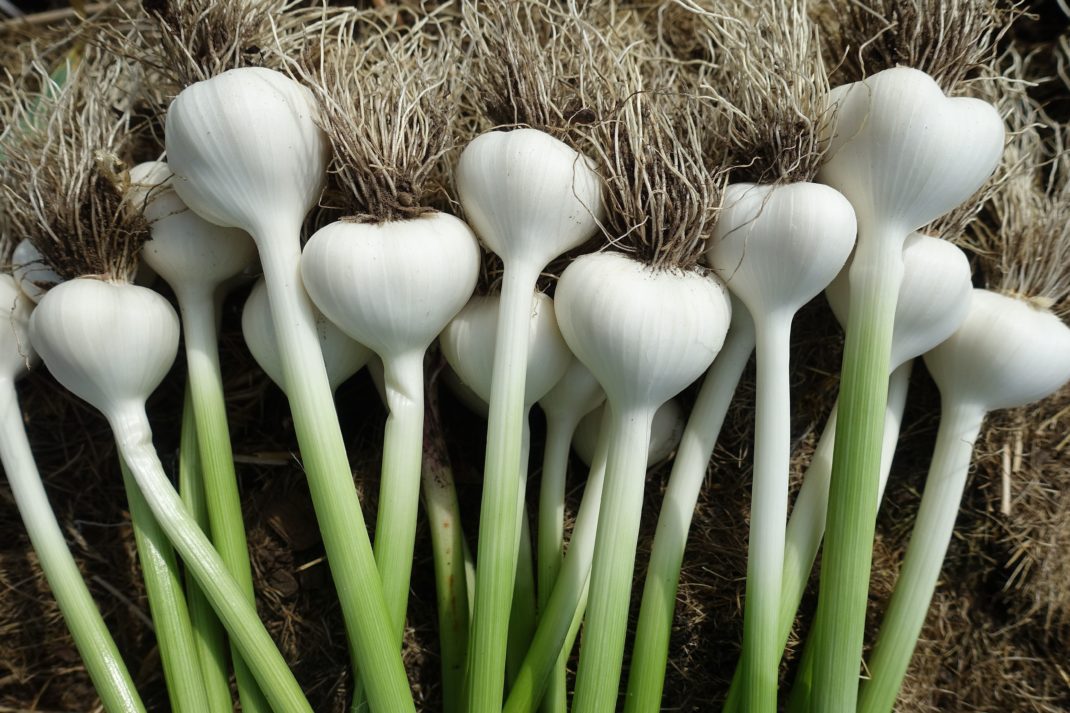
The garlic looks absolutely beautiful when it's nice and clean.
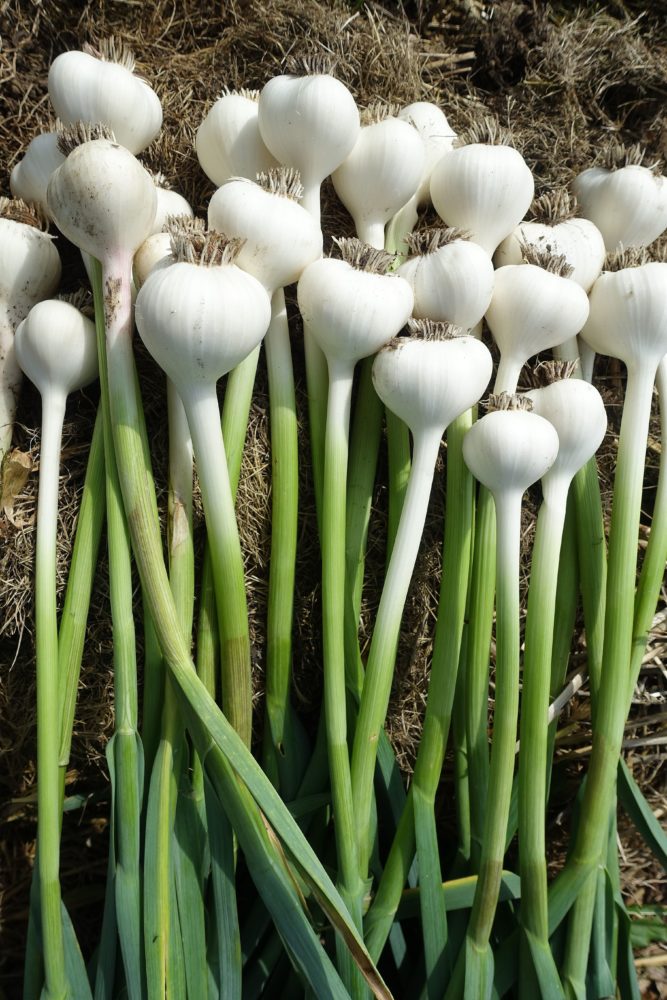
I removed the dirty roots. Look how beautiful the garlic is now!
There are plenty of different ways to braid garlic, but the common thread is that you need the garlic leaves to be soft. If you decided to grow a garlic variety with tougher leaves, then you might not be able to braid it. Try to go for the so called softneck varieties, rather than the ones labeled hardneck.
I always try to clean the garlic and cut some wayward roots off before braiding. There are some conflicting ideas out there about whether or not you should dry the garlic leaves before you braid. I have tried both methods. If the garlic is very fresh, then the braid can get a bit loose and it might fall apart when the leaves dry. But you can fix this problem by simply tying a little knot at the top of the braid. You can use this knot to hang your garlic braid on the wall too.
More about garlic: Growing garlic in pots
Start your garlic braid like this.
How to make a garlic braid
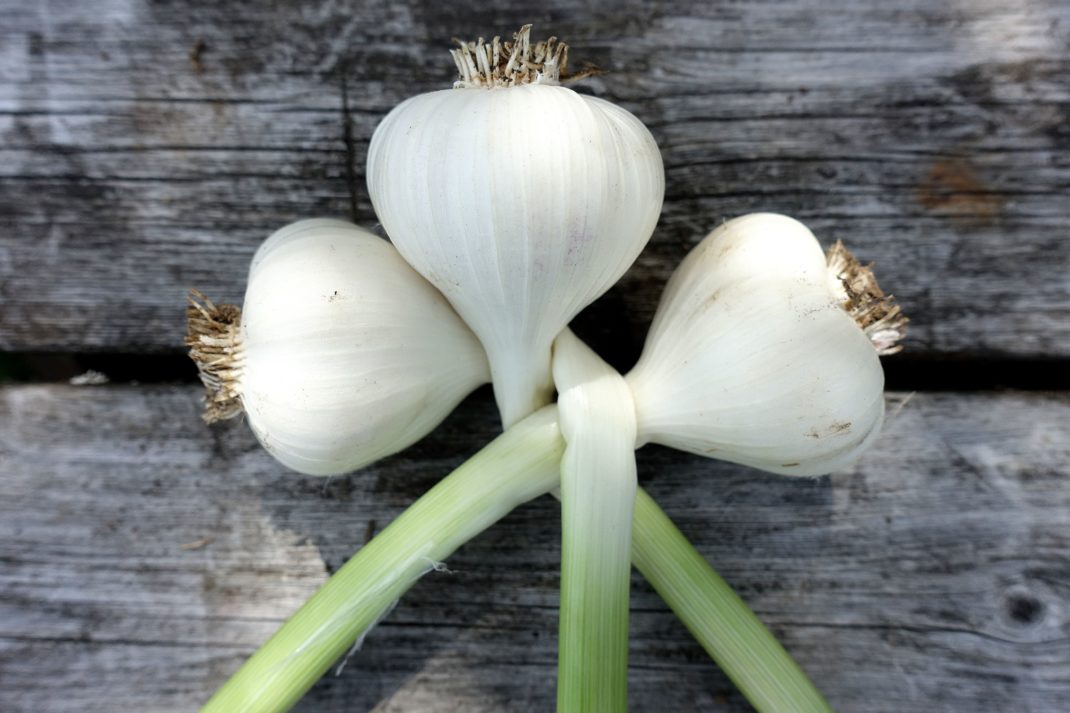
- Put three garlic bulbs with long leaves on a table, with the leaves turned towards you.
- Attach the garlic bulbs by folding the leaves.
- Spread out the leaves, make three distinct sections.
- Add a new bulb on the left side and put the leaves in the middle section.
- Start braiding the leaves by pulling the leaves on the right side towards the middle.
- Add a new bulb on the right side and put the leaves in the middle. Pull the leaves on the left side towards the middle.
- Keep adding new bulbs on both sides and braid the garlic tightly.
- Finish the braid, add a little loop and tie your braid with a knot.

I keep adding new garlic bulbs and I braid the new leaves as I go along.
This is what the garlic braid looks like when you add new bulbs. Fasten the leaves as you go along, simply fold the leaves over each other in a traditional braid.
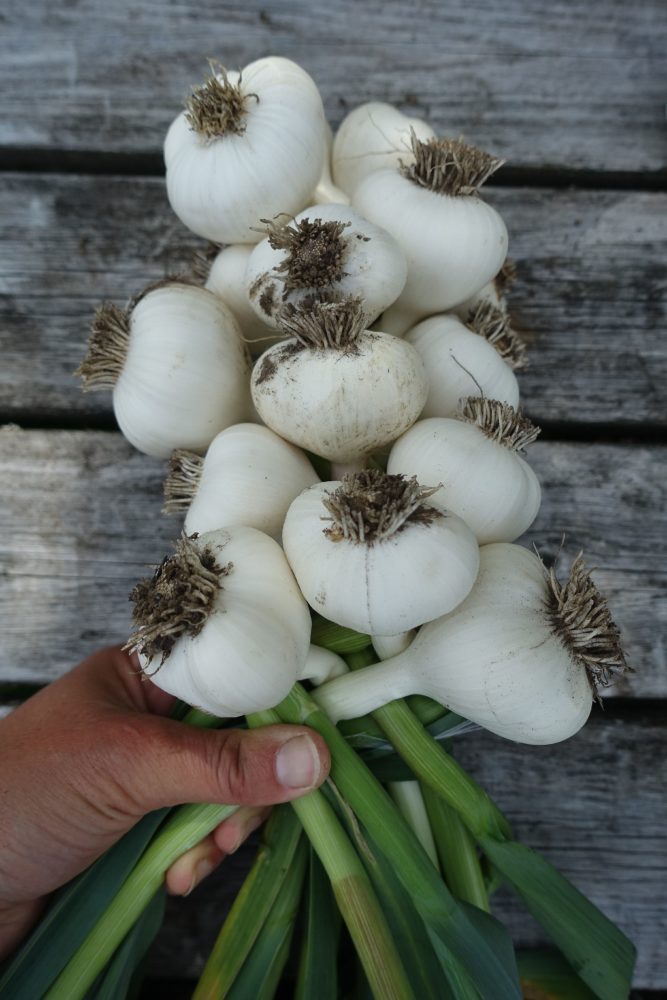
Make the braid as tight as possible. Keep adding new bulbs on the right, middle and left side until you get a beautiful collection in your braid.
Exactly how you decide to make your braid is your choice. Place the garlic bulbs where you like and start braiding the leaves as you go along.
Just remember to braid the leaves tightly enough. Fresh leaves will give you a looser braid, but you can tie the braid when it dries a little.
Hang your garlic braid
Hang your braid in a dry spot in room temperature. I keep mine in the kitchen. When I want to use some garlic in my cooking, I simply grab a bulb from the braid and leave the rest for later.
You can store garlic indoors for quite a long time, but how long depends on the variety you decided to grow. Do some research on different varieties and make sure to separate the varieties so that you don't put them in the same braid.
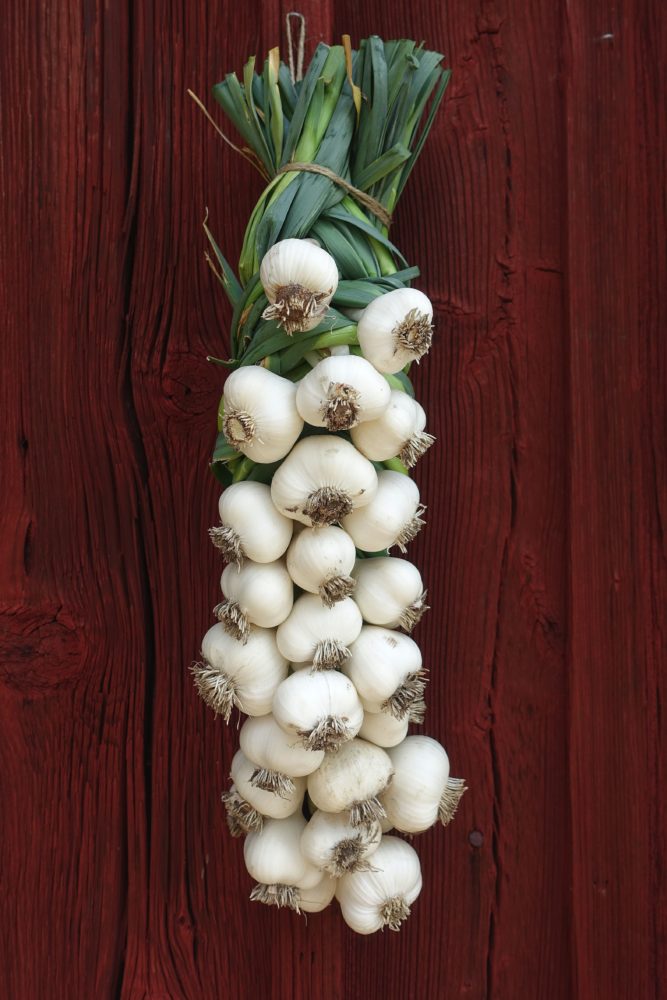
My braid looks so amazing! Made from homegrown garlic bulbs of course. Tighten the knot a bit as the leaves get drier, just to make sure that none of the bulbs fall down as the braid dries.
I usually don't include the small and underdeveloped garlic bulbs in my braids. I simply dry these bulbs, remove the leaves and store them in a paper container. We eat these garlic bulbs first.
Good luck with your braid!
/Sara Bäckmo
14. October 2019


Leave a Reply
You must be logged in to post a comment.