Guide: Starting a small vegetable garden – Part 3
It's time for the third and last part of my series about creating a small vegetable garden! In this part, I will show you how to mulch your beds with grass clippings and tell you more about the optimal way to water your beds.
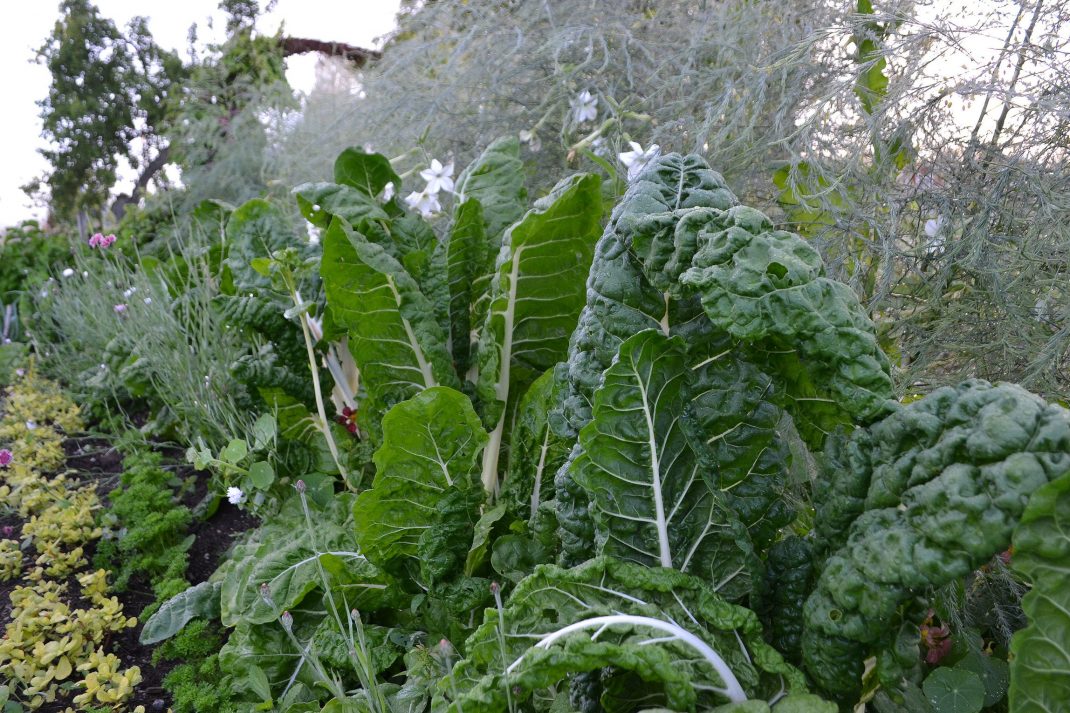
My lovely chard in my kitchen garden.
The sugar snap peas are usually early and you might already be harvesting chard and beet leaves for your salads. Why not grab a few Welsh onion leaves and shred them as a topping on your sandwiches? And the early carrots are absolutely lovely of course.
The vegetables in your bed should, if you followed the steps in part 2 of this series, be quite low-maintenance and take care of themselves for the most part. None of them need any extra protection against infestations and the only vegetables that might need some extra help to climb are actually the sugar snap peas. You can solve this issue by putting a few twigs into the soil, the peas will start to climb on them.
Get rid of the weeds. It's easy to see what doesn't belong in the bed if you sowed your vegetables in straight rows or your carrots in a wider row. Just remove everything growing outside these rows.
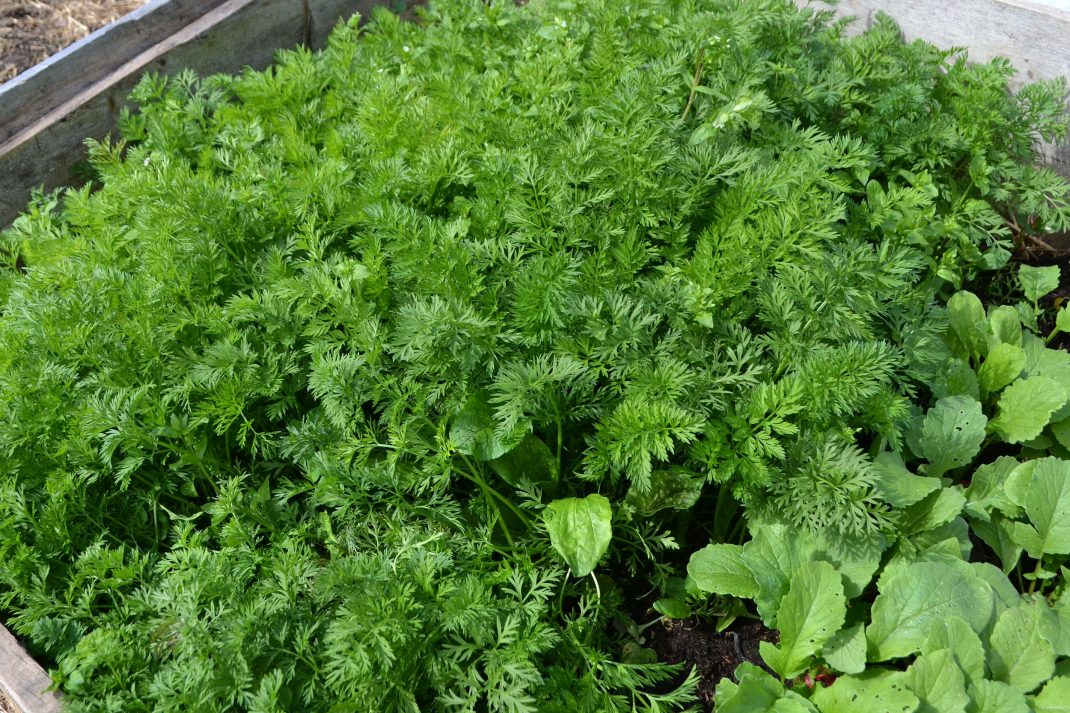
I usually sow my carrots in rows, but you could just as well scatter the seeds over a larger area too. This is called broadcast seeding. Harvest the carrots by simply pulling the larger ones from the ground, leave the rest to grow a bit more.
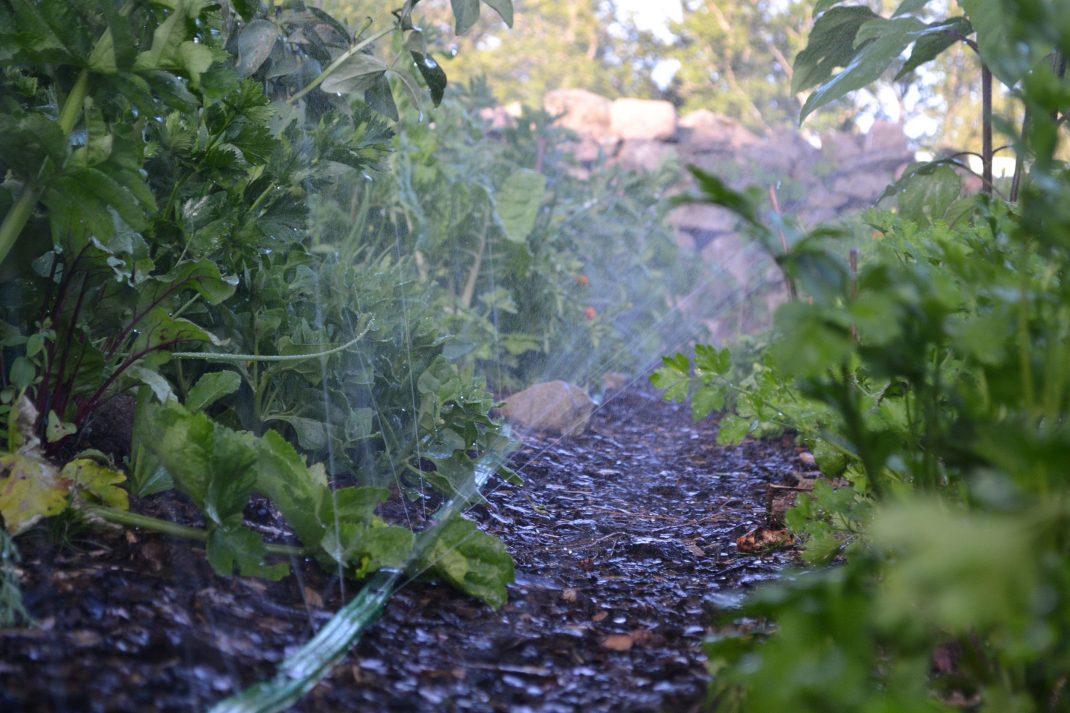
This is how I water my plants, I put a flat hose with little holes in it on the ground. The water is pushed through the holes and a fog of little droplets rain down on a quite large area. This makes the watering really easy and gentle too, no jets of water there to push the soil aside or harm the fragile little plants. You can buy this type of hose in the garden centers.
Water and keep the water put
Try to water your bed regularly. If your bed is mostly made up of store-bought soil, it will dry out easily since it mostly consists of peat moss. The squash needs a lot of water when it gets larger so it's good if you can find a regular watering routine. The compost boxes where you grow potatoes also need a lot of water so that the composting process can work as it should.
A great way of keeping the water in the beds is to cover the soil with for example grass clippings. A thick layer of grass clippings will keep the water from evaporating, while the microbes in the soil turn the grass into nutritious humus. If you want to know more about mulching, I have plenty of articles about mulching here on the blog.
Fertilizing
The soil you used for your bed contains quite a lot of nutrients so don't worry if you don't have time to fertilize, you can do it later. But if you decide that you want to do it, you absolutely should. Grass clippings are a great fertilizer, but nettle water works too. My kids call it "stinky water" and I can only agree. Stinky or not, it really works and it's super easy to make yourself. Learn how to make it here: Fertilize with nettle water. If you want an even simpler solution, use diluted urine, 1 part urine, and 10 parts water. The amount of urine a human produces during one year is enough to fertilize all of their vegetables in the vegetable garden that same year.
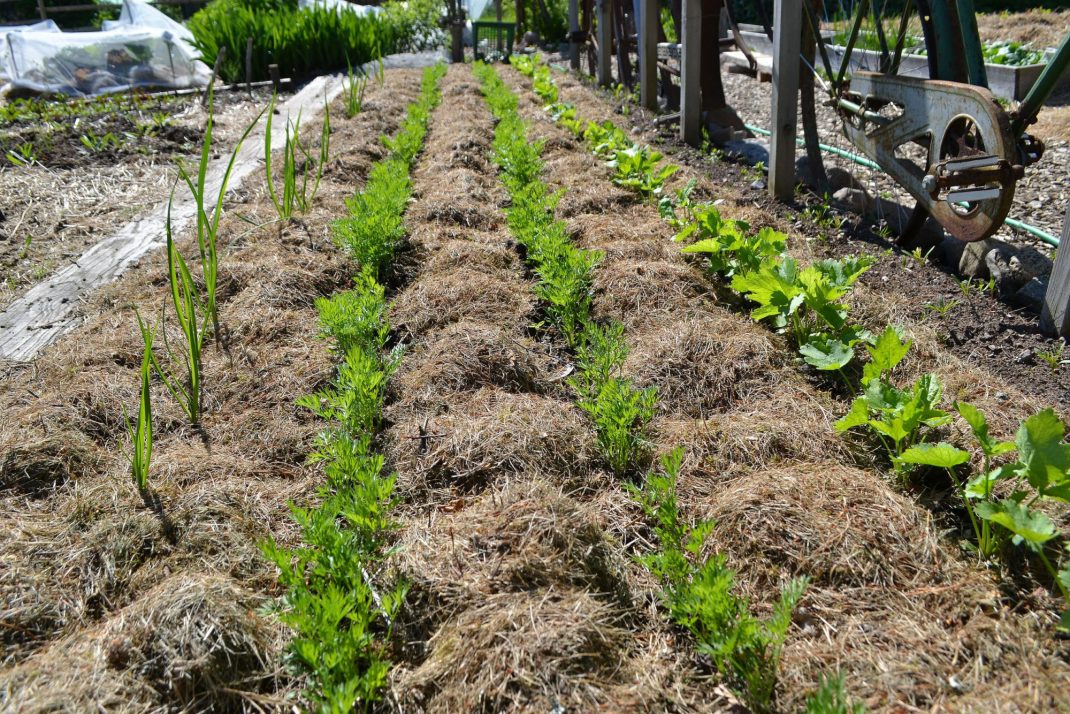
This bed should be about the same width as yours and consists of four rows, onion, carrot, carrot and parsnip. I added a layer (around 4 inches thick) of grass clippings on top. The grass clippings will dry out and turn brown after a while, but it still contains a lot of nutrients. This mulch will provide the soil with nutrients for several years, even when it's not fully decomposed yet.

You might need a lot of grass clippings for your mulching projects as your vegetable garden grows larger. I get most of mine from a neighbor with a riding lawnmower. You might be able to get grass clippings from your local park, church or housing association too. Basically anywhere with large lawns might be an alternative.
Sow new seeds
As you start harvesting your vegetables, you will get new empty spaces in your beds. If you want to, you could sow new vegetables in summer and get a nice harvest in the fall, as long as you make sure to water properly. Arugula, radishes, spinach, and dill are great options for July/August in my part of the world. Lettuce needs some extra protection when it gets colder, you could, for example, use some garden fabric.
You will notice that the beds look quite empty when fall comes along. Then what?
Keep adding to the depth of the bed that's completely made up of soil. Gather as much plant material from your garden as you can and put it straight on top of the bed. The earthworms will work on the material through the winter. Even if it hasn't all turned into soil in spring when it's time to sow again, you will still have given you soil the best possible start for the coming season. A working mulched bed will produce around 1 pounds of vermicast (worm manure), every day for at least half the year. That's why it's such a good idea to get acquainted with this method.
Building more beds
And then we have the compost pile where I decided to grow potatoes. The material will most likely not be completely processed yet, but it will have come a long way. Remove the pallet collars, one by one. It's easier to move them if you are two. You could always put some rocks or logs around the beds, just like you did in the bed next to it. Leave the pile as it is, add to it with more plant material or put soil on the entire bed if you have any leftover soil from other projects. If you decide to add soil, it might be a good idea to cover it with leaves, grass clippings, straw or something similar to protect the soil from the fall and spring rains. Sow the seeds like you usually do when the next season comes.
The three remaining pallet collars can be used to create a new bed as I described in part 1. Put them next to one of the established beds, put newspapers (with non-toxic ink) in and around the bottom and fill the bed with plant material.
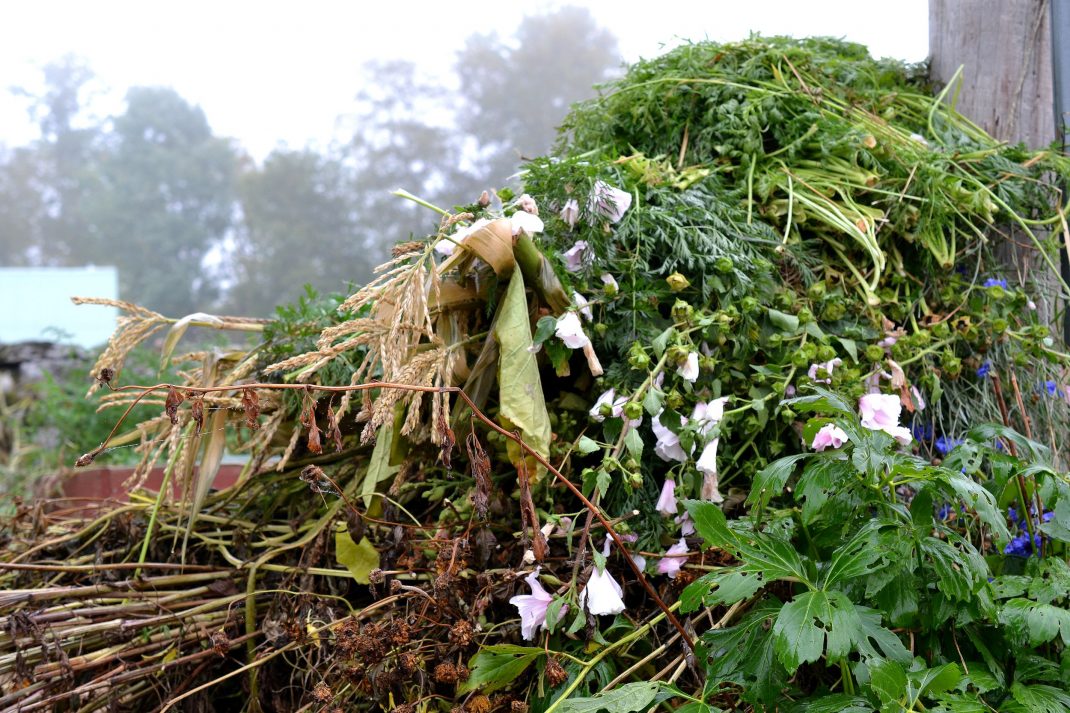
I use the scraps from my vegetable garden to build new beds and fill the old ones up. This makes the process a lot easier since I don't have to deal with a separate compost pile.
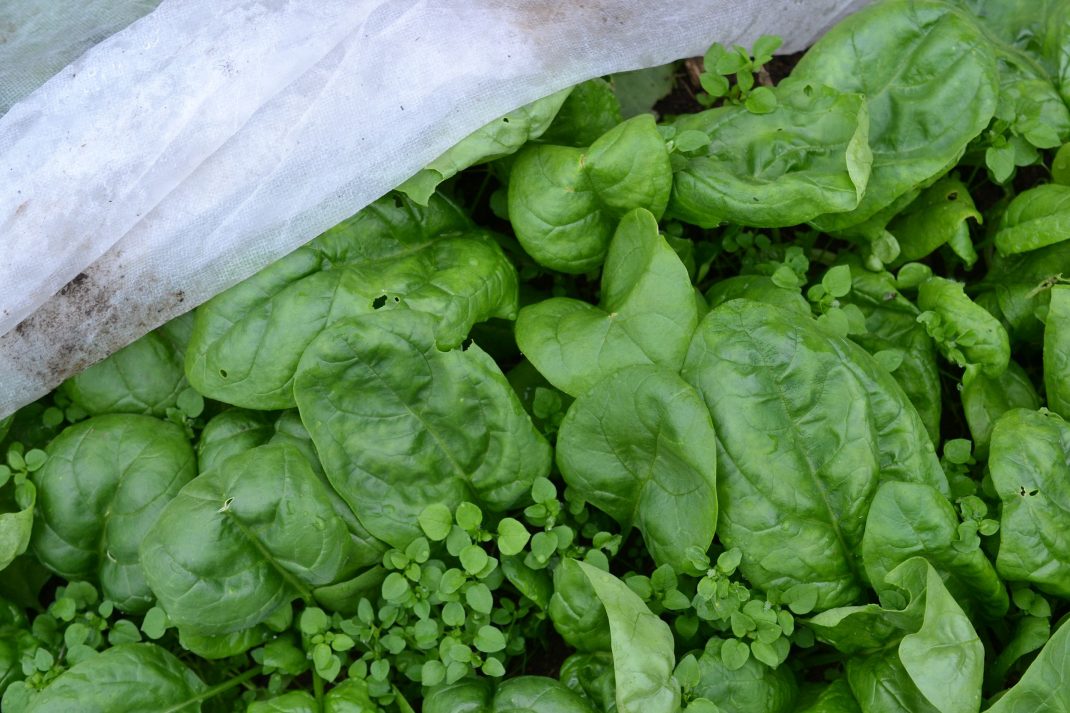
Some parts of my vegetable garden rest over winter but several vegetables can grow even when it's really cold outside. Spinach is one of those vegetables. I sowed the spinach in August and it grew nicely under a garden fabric, far into November.
Just go for it!
Hopefully, you learned a lot during this process. For example what works and what doesn't work for you. I hope you have found plenty of new like-minded people who you can share your progress with too! At this point in your journey, I would advise you to research crop rotation. Ask all the questions you can think of to more seasoned gardeners and make new knowledge your goal. Get a bunch of seeds, make plans. Go for it. The first year is always so fun and creative, but the coming years will be even better! Please let me know if you started your own vegetable garden with the help of this series- I would love to learn how it worked out for you!
You can find all of the articles in this series here.
Join our Facebook group for more inspiration and helpful tips from other gardeners around the world. Good luck starting your own vegetable garden!
/Sara Bäckmo
Leave a Reply